DaVinci Resolve is a free and professional tool for the color correction of video material. Since version 11, DaVinci Resolve also includes a full video editor for video editing.
With DaVinci Resolve, recorded video files can be trimmed, edited, converted and saved as a new video file.
Installation[Bearbeiten | Quelltext bearbeiten]
You can dowlnoad DaVinci Resolve from the manufacturer Blackmagicdesign for free.
For this you must create a user account, which is also free of charge.
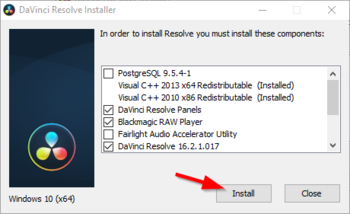
- Install DaVinci Resolve
- You can use the standard settings for this
First steps[Bearbeiten | Quelltext bearbeiten]
Create project[Bearbeiten | Quelltext bearbeiten]

- Run the Resolve program
When you open the program for the first time, some assistants will open to help you get started - these are optional

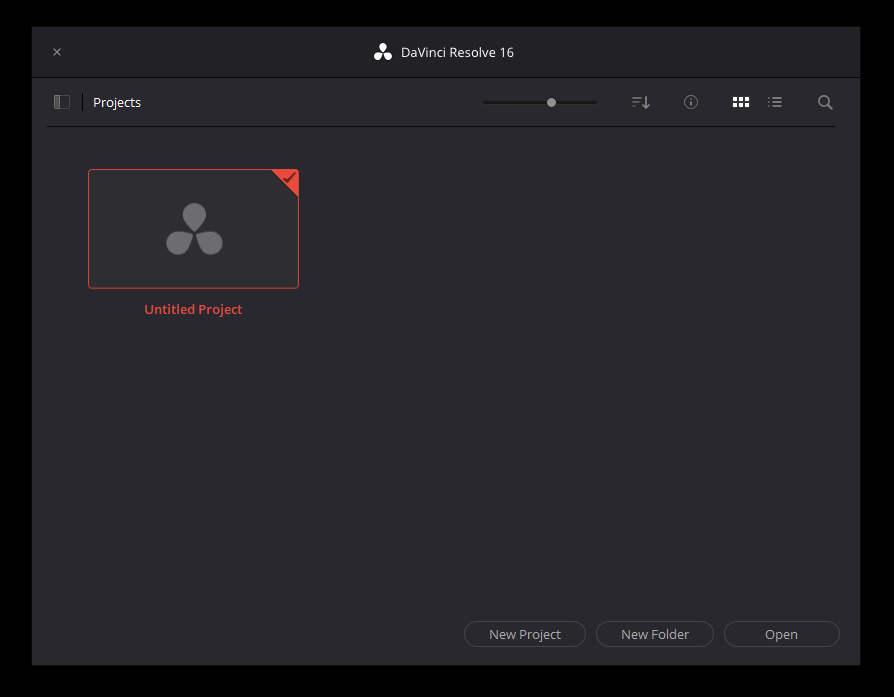
- Here you see the project manager, which opens when the program starts
- Click on "New Project"
- Give the project a name
- Then click on "Create"
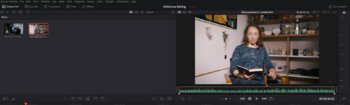
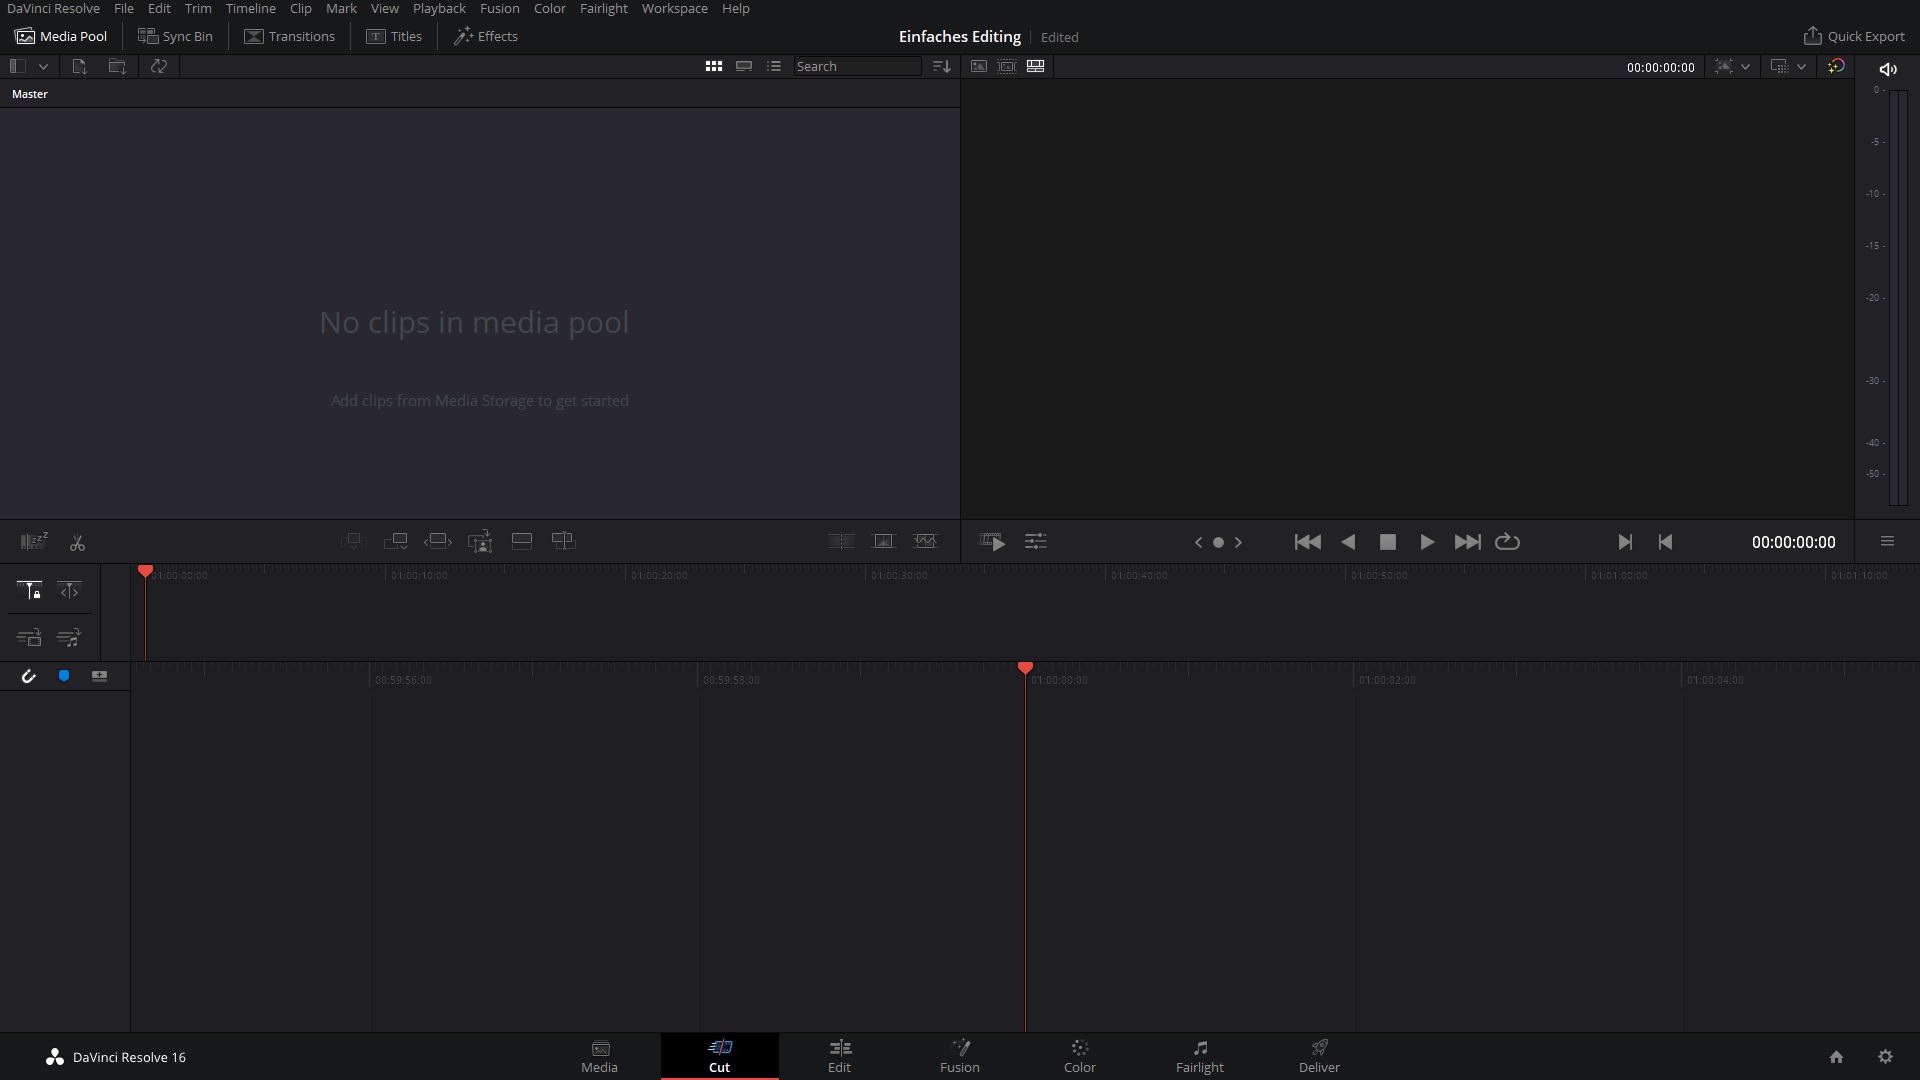
Now switch to the "Cut" work area
The interface is divided into three areas
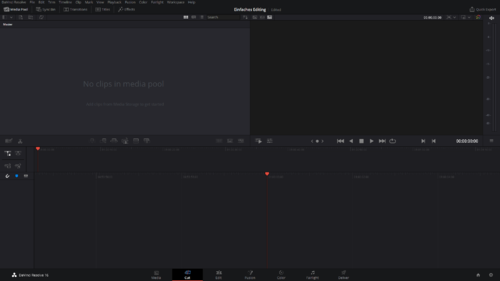
- On the left side is the "media pool" - Here you can store the video material you want to edit
- On the right side you will find the "Preview" - Here you can view and cut the clips
- At the bottom you will find the "Timeline" - Here you can arrange the cut clips
Import media[Bearbeiten | Quelltext bearbeiten]
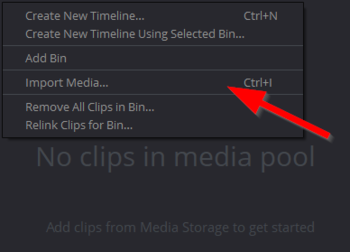
- Click with the right mouse button in the free area of the "media pools"
- In the context menu, click on "Import media..."
Now select the videos you want to edit.
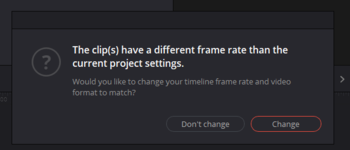
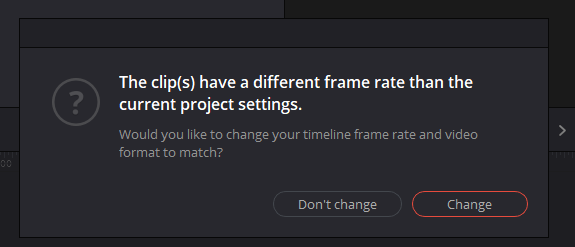
- You are now asked whether the project settings should be adjusted to the video material
- Confirm with "Change"
Cutting videos[Bearbeiten | Quelltext bearbeiten]
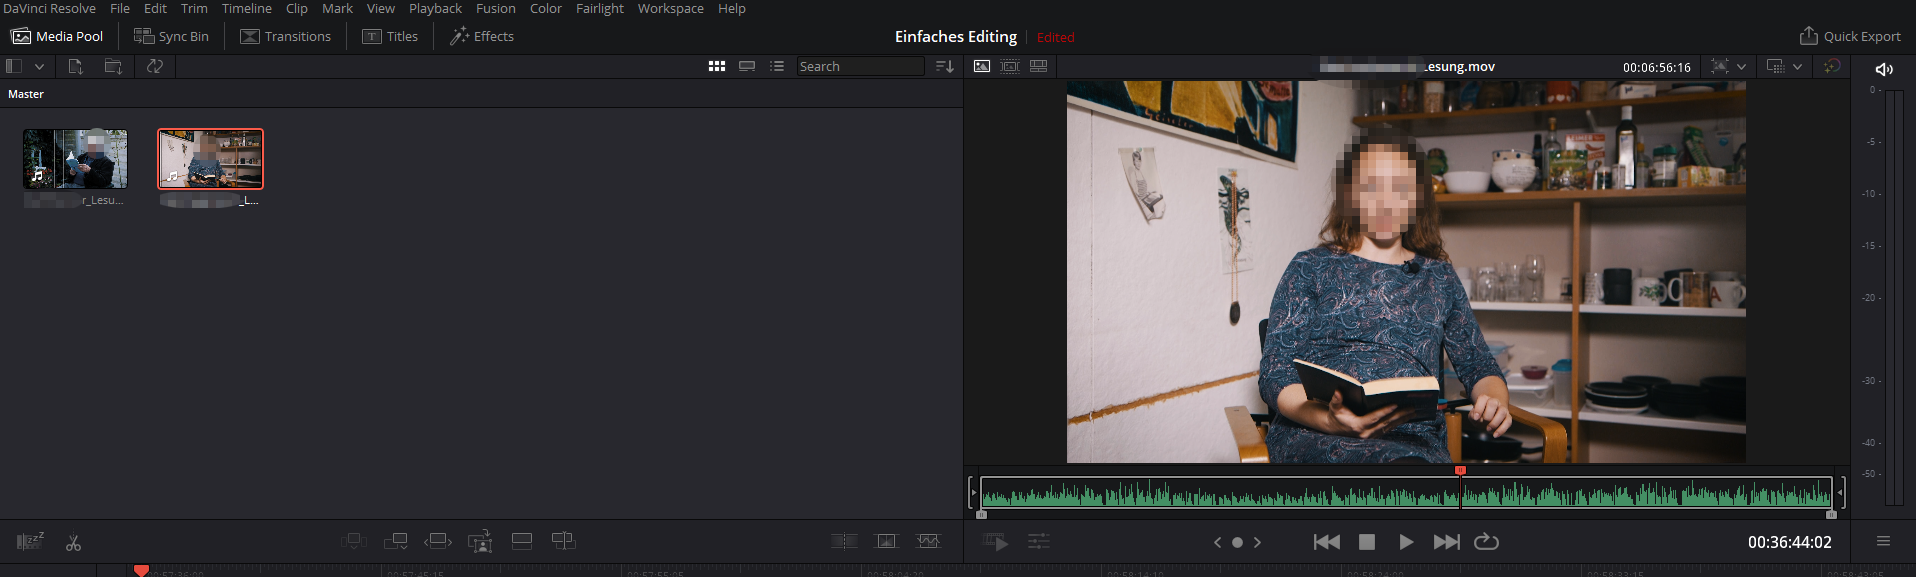
- Your imported files are now displayed in the media pool as small tiles
- Select one of the videos with a double click
- It now appears on the right in the "Preview"
We now want to cut a video.
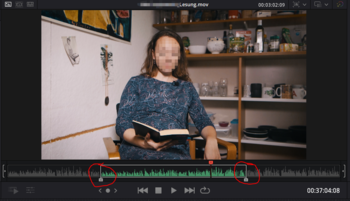
- Rewind to the point where you want the video to begin
- Click "I" on the keyboard for In-Point
- Then rewind to the point where the video should end
- Click "o" on the keypad for Out-Point
- We have now selected the desired area of the video
Alternatively, you can also move the handles marked red in the image with the mouse.
Hint: Have you clicked wrong? Just rewind to a new position and set the markers with "I" or "o". They will simply be overwritten.
Once we have finished editing the clip, we drag it down into the "Timeline" with the mouse.
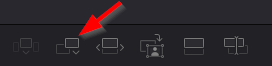
- Alternatively, you can also use the "Append" button
This way you can gradually cut your videos and put them in the right order in the timeline.
Export videos[Bearbeiten | Quelltext bearbeiten]
When the video is finished editing, we can export it.
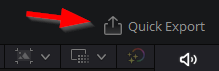
- Click on "Quick Export"
In the following dialog box you can edit the video settings again.
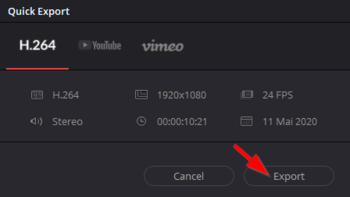
- If you want to publish the video on the Internet, we recommend the H.264 default
- Click on "Export"
Now you can choose a storage location for your video.
See also[Bearbeiten | Quelltext bearbeiten]
Here you will find instructions that will make it as easy as possible to get started with DaVinci Resolve.


