Kurs: Seminarapparat einfuegen/en
Jnk (Diskussion | Beiträge) K (Jnk verschob die Seite Kurs: Seminarapparat einfügen/en nach Course: Insert seminar apparatus, ohne dabei eine Weiterleitung anzulegen: Umlaut entfernt) |
Jnk (Diskussion | Beiträge) |
||
| Zeile 1: | Zeile 1: | ||
{{translated page | {{translated page | ||
| − | |origin=Kurs: Seminarapparat | + | |origin=Kurs: Seminarapparat einfuegen |
|lang=en | |lang=en | ||
|translated title=Course: Insert seminar apparatus | |translated title=Course: Insert seminar apparatus | ||
Aktuelle Version vom 21. Juli 2021, 10:58 Uhr
Die deutsche Version finden Sie auf der Seite Kurs: Seminarapparat einfügen
This tutorial will show you how to insert an online seminar apparatus as a block in Moodle.
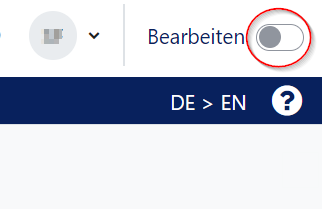
Enable editing
In most cases you will need to activate the edit mode in your course. Only then you will have the appropriate buttons to create materials and activities in your course or to edit the settings.
As course administrator you can do this in two ways:
- In the left setting block "Course administration" you will find the button "Enable editing".
- Above the course content you will also find a button "Enable editing".
After the editing mode is switched on, all editing options are available to you.
Add block
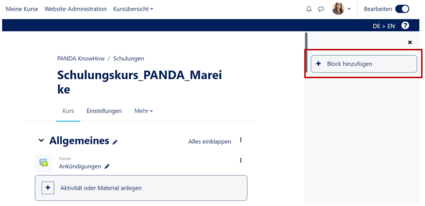
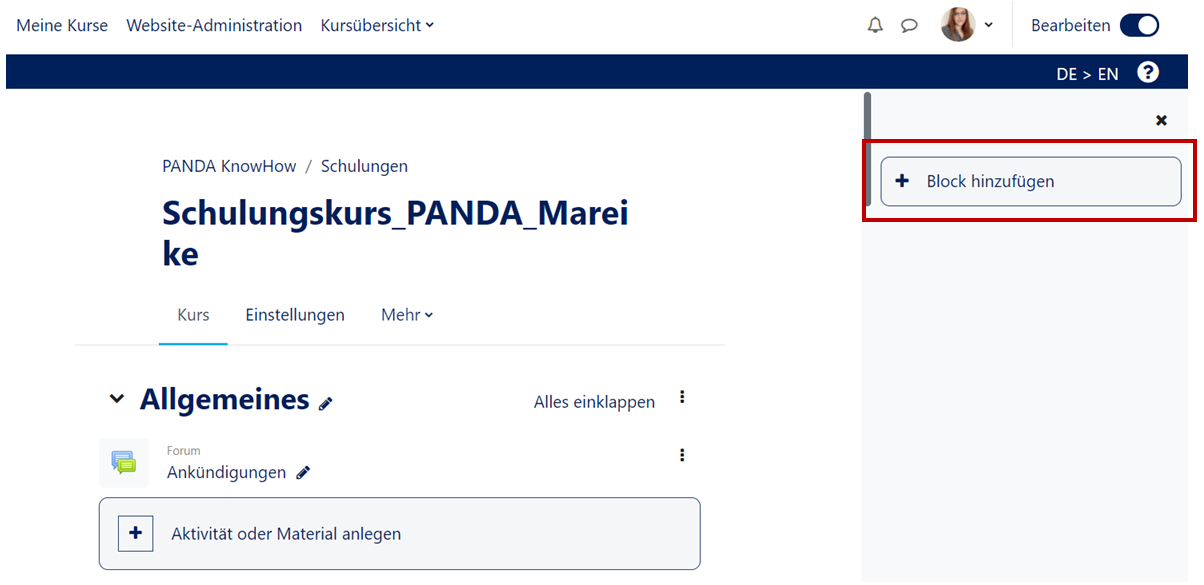
- After the edit mode is switched on, you have the possibility to add a new block in the left sidebar below.
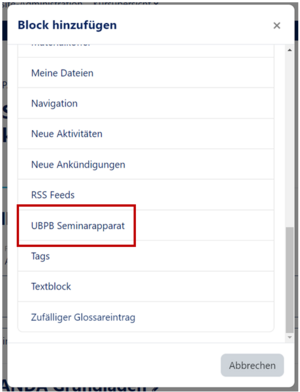
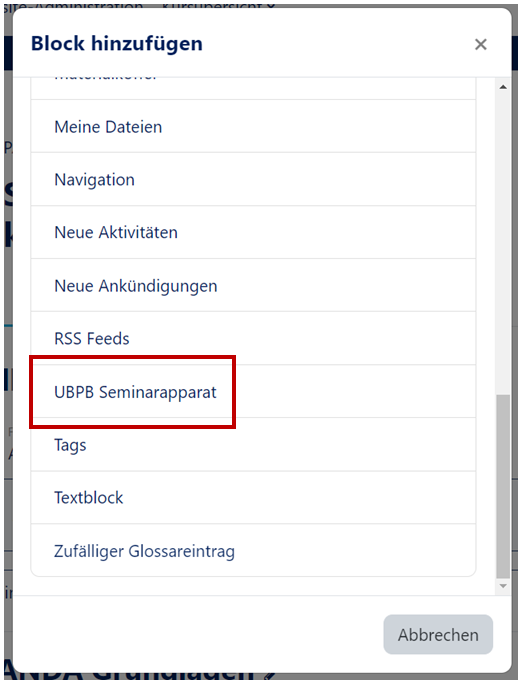
- A selection of blocks will appear for you to select. Here you select the UBUP seminar apparatus.
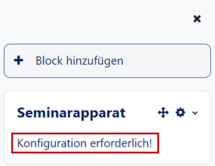
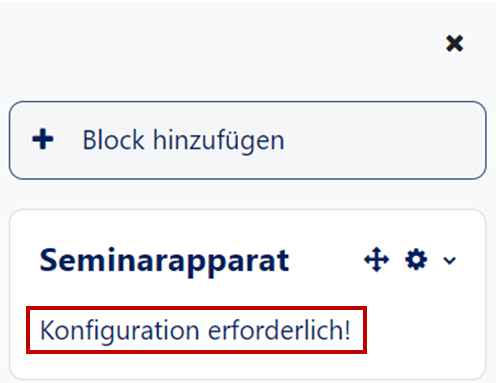
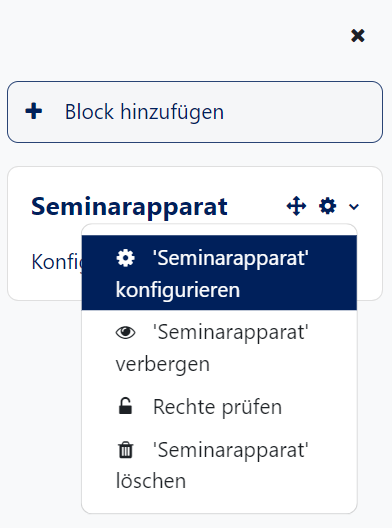
- In the right sidebar your seminar device appears. But it still has to be configured!
Configure seminar apparatus
The seminar apparatus must now be configured.
- Click on the small gear wheel symbol in the block.
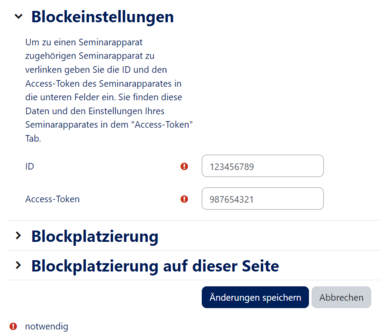
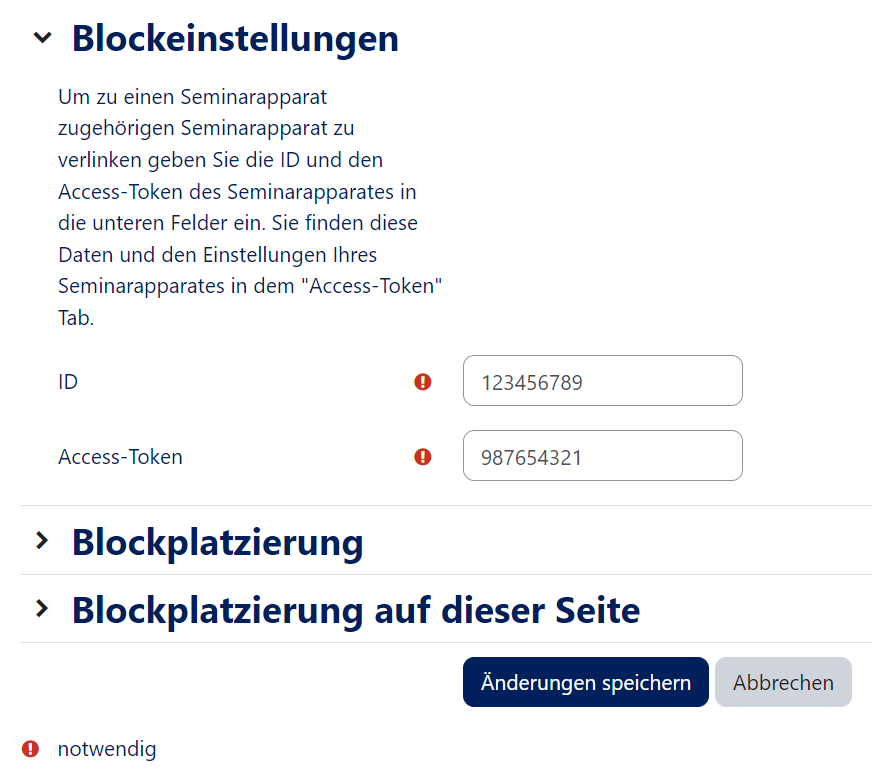
- In the block settings you must enter 'ID' and the 'Access-Token'. These can be found in the settings of the seminar apparatus on the pages of the university library.
The seminar apparatus is now completely configured.
Video - Insert seminar apparatus[Bearbeiten | Quelltext bearbeiten]
