This guide explains basic course settings, such as course start and end dates, course format and hidden sections.
The structuring hints allow you to restrict topics so that students can only access them after certain tasks have been solved.
Basic course settings[Bearbeiten | Quelltext bearbeiten]
A newly created course has the default settings stored in PANDA. These can be adapted by the instructor to suit their own needs. To do this, click on the small wheel at the top right and then select the first item Settings. These will then open in the middle area.
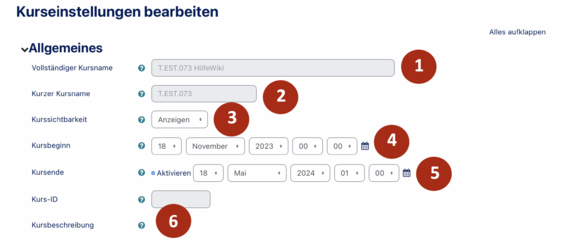
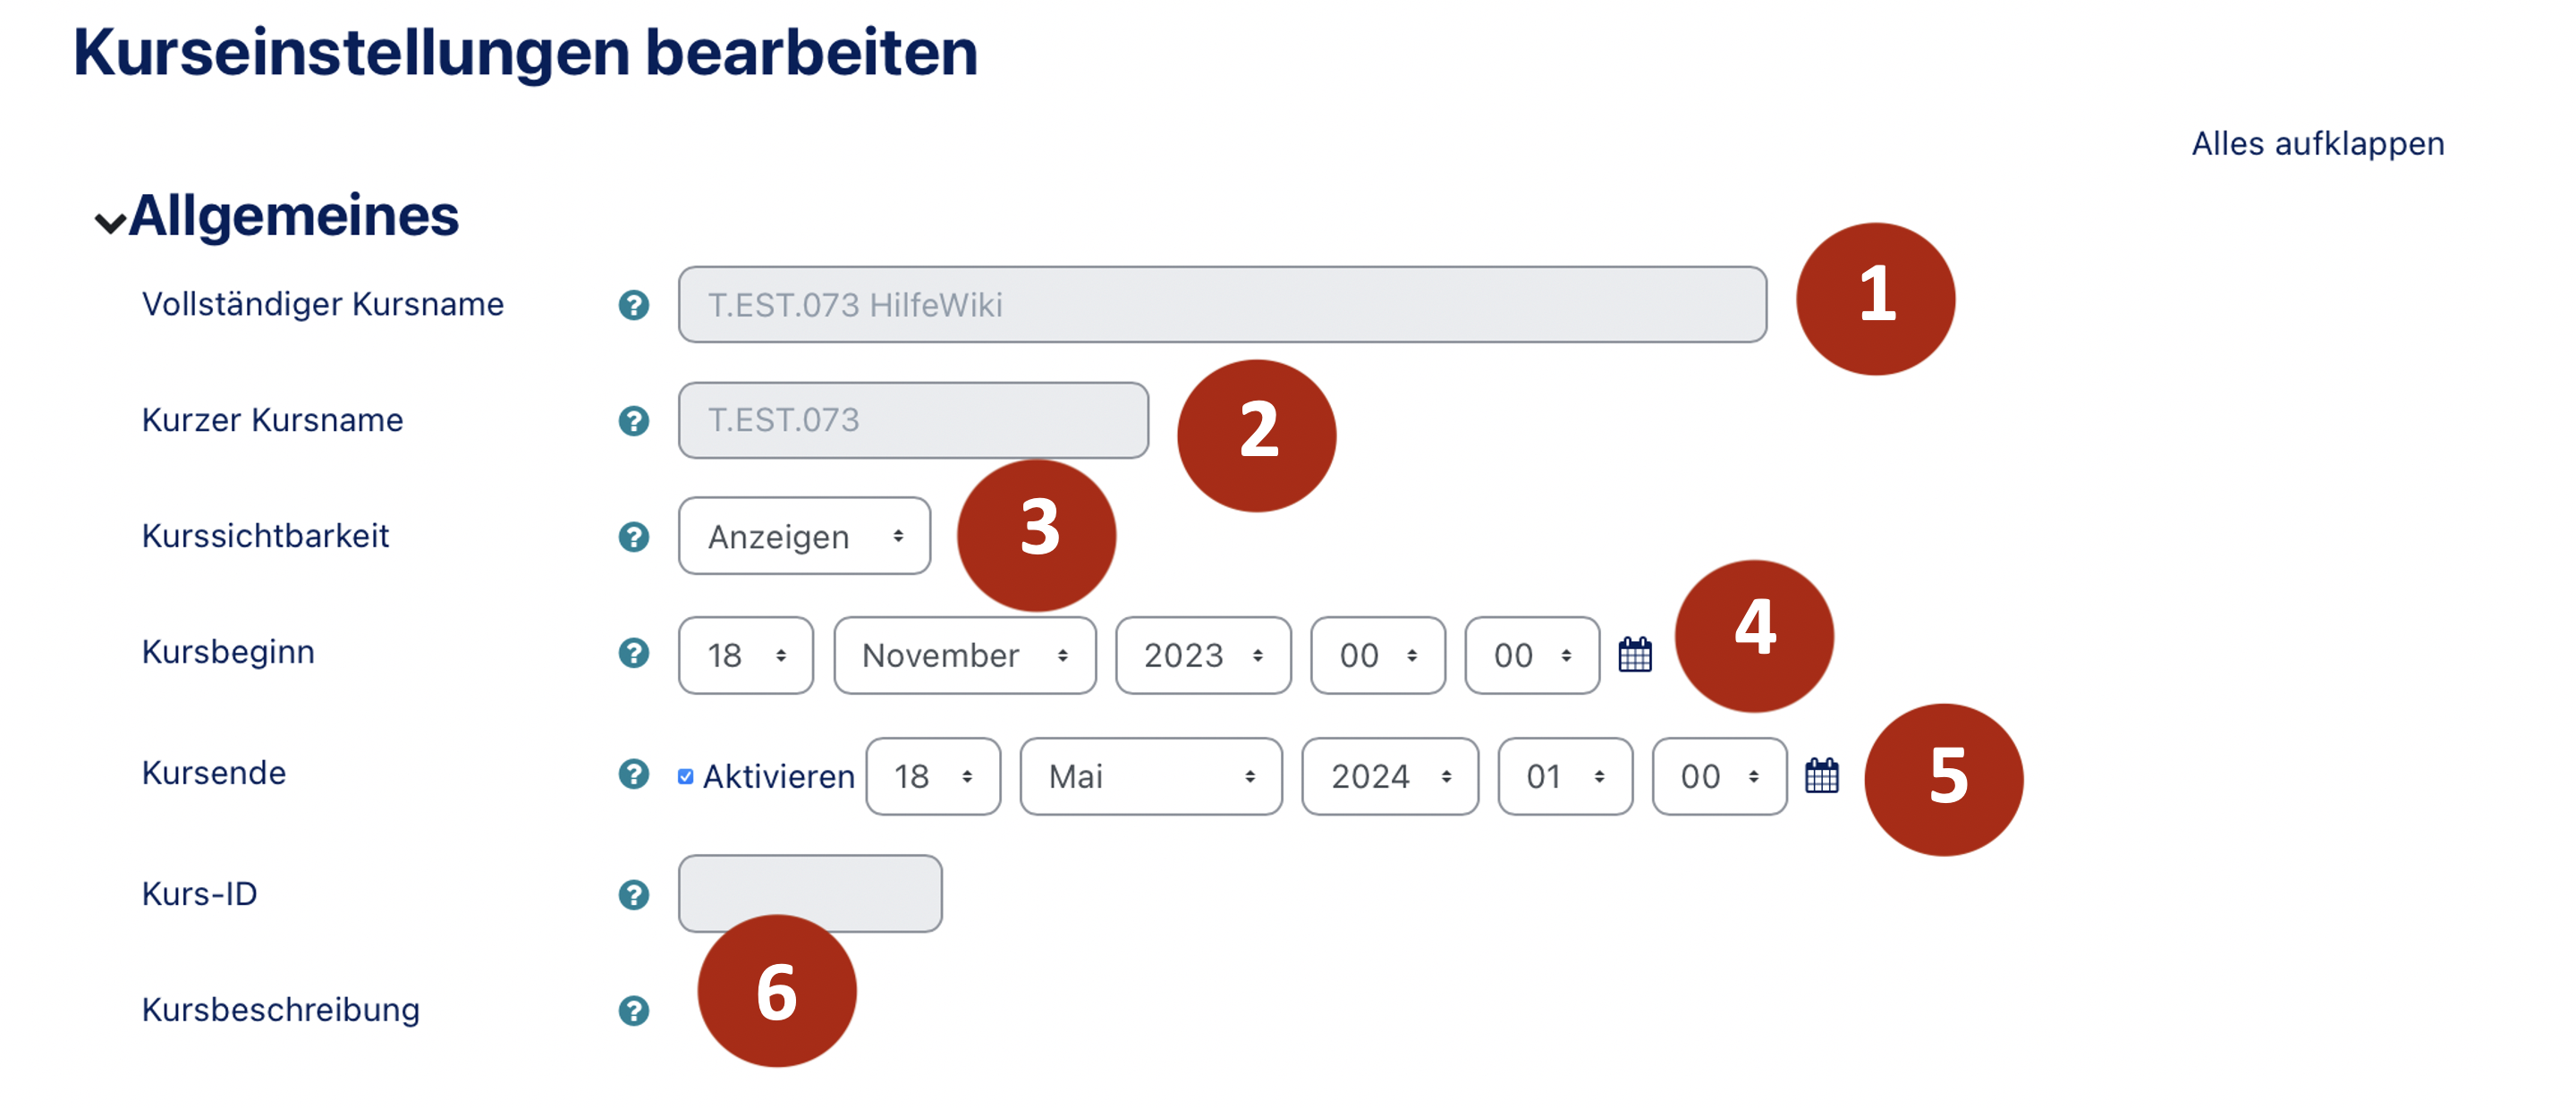
- The Course names (1+2) are assigned by the IMT when the course is created and cannot be changed by the instructor independently. These fields are highlighted in grey. If a change is necessary, the IMT must be contacted.
- Full course name (1): The full course name contains the PAUL number and the course name used in PAUL,
- Short course name (2): the short course name contains only the course number.
- If the course is not available in PAUL, an external abbreviation will be assigned here.
- course visibility(3): In the course settings a course can be shown or hidden selectively (3).
- If a course is hidden, it will not appear in the course list anymore and cannot be accessed by participants via the direct link.
- Lecturers and lecturer assistants will still see the course under "My Courses" and in the corresponding grouping, but in grey letters, indicating in PANDA that the course is currently unavailable to participants.
- The setting to hide a course can be useful for completing or making fundamental changes to the course without it being possible for students to find and access it, even if they are already enrolled in the course using PAUL synchronization.
- Start of course (4): A Start of course (4) can be specifically set for the course.
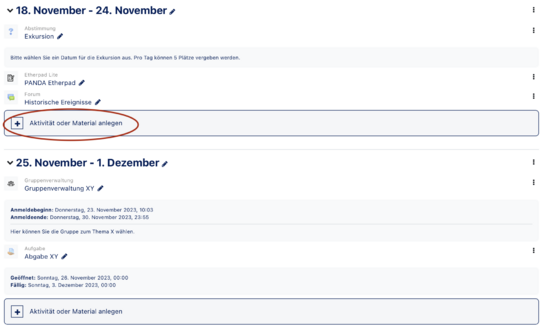
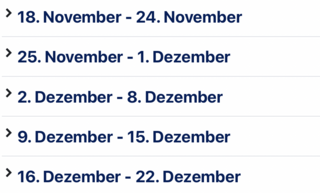
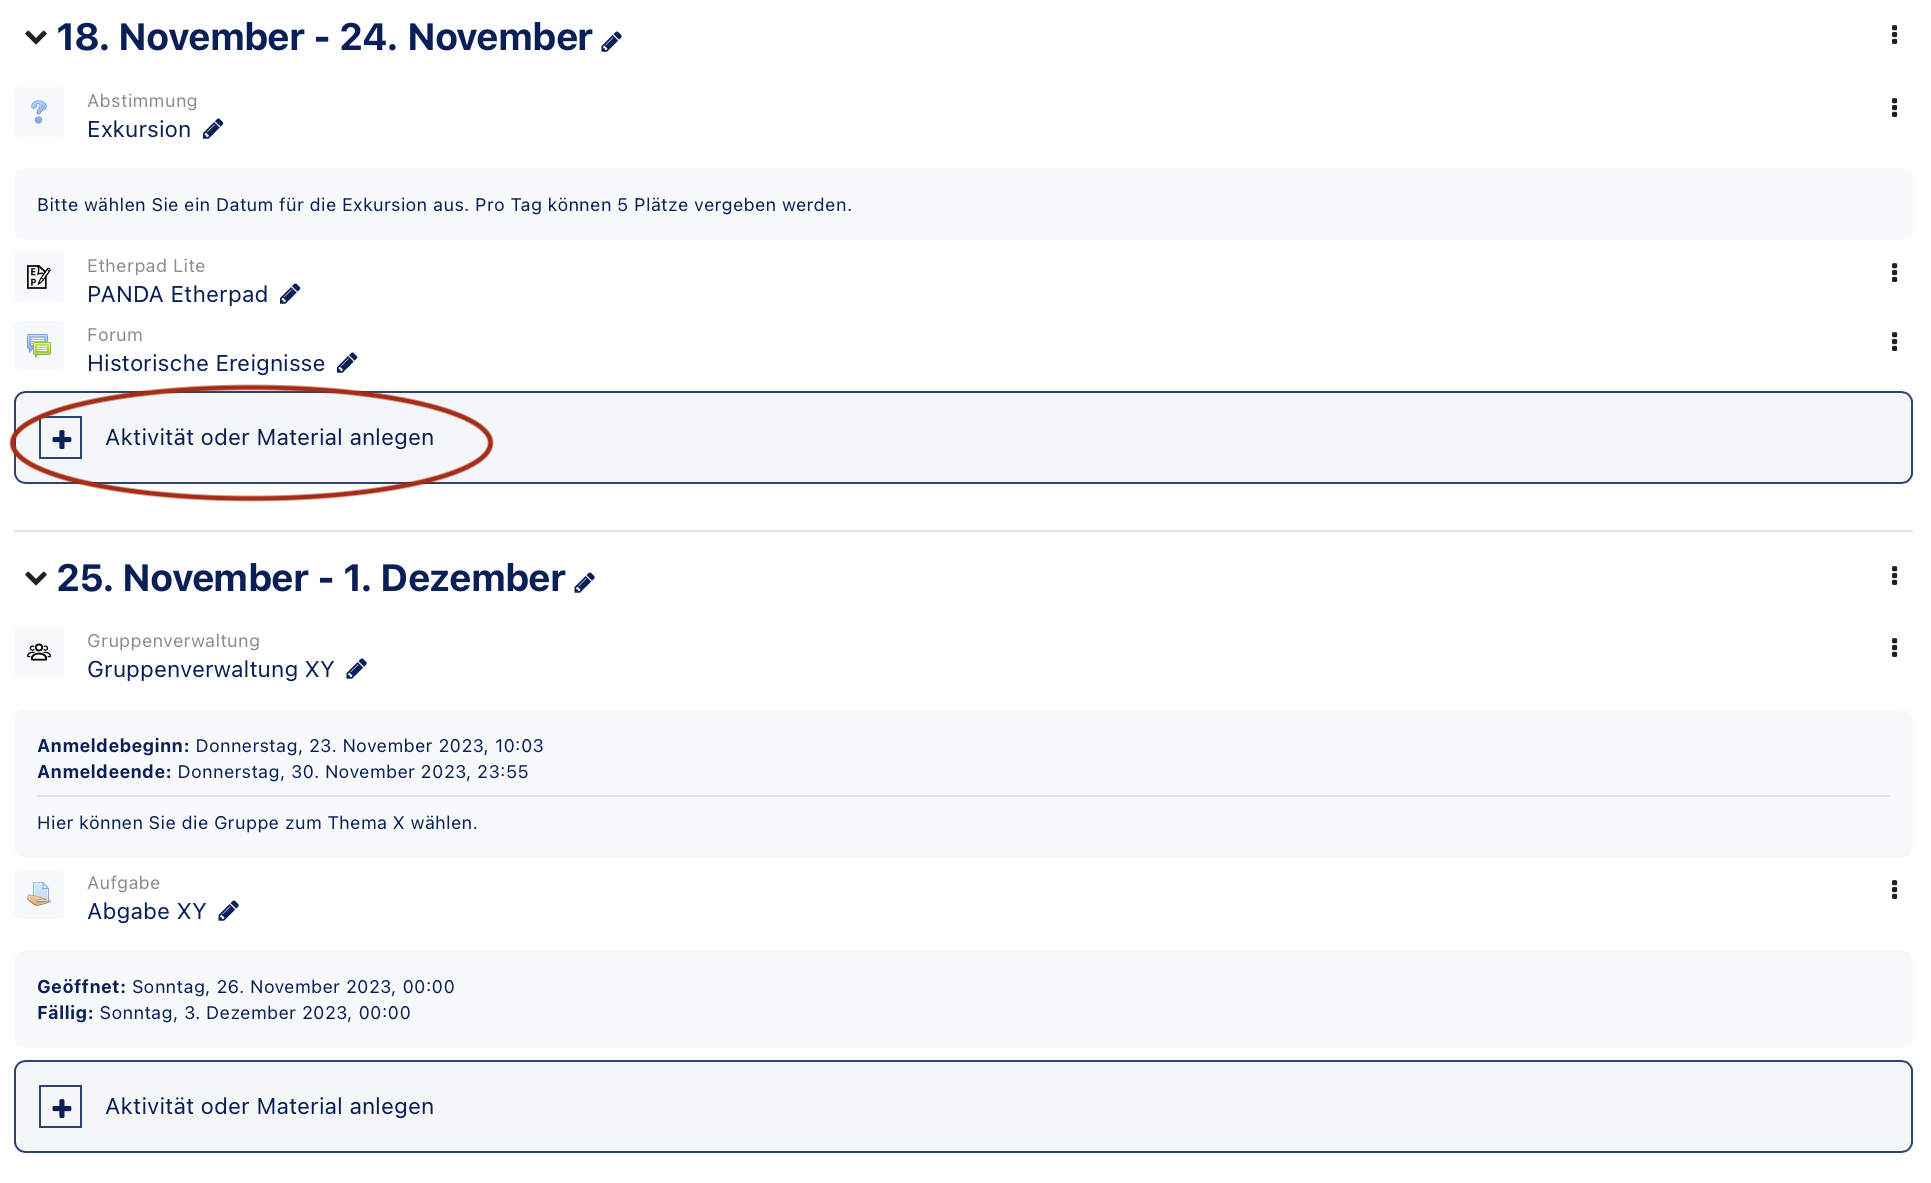
- This is useful if the course uses the week format, because the first week starts with the day the course starts. The individual sections will be overwritten with the corresponding data. Here you can then add other activities or materials (see below).
- Setting a suitable course start also makes sense if the course is to be repeated and works with date requirements. For example, if an uploaded document is set to be available from day 15 on, the date will be adjusted automatically when copying a course and adjusting the course start.
- Course end (5): When the end of the course is reached, the course will be displayed under "Past courses".
Course description (6): The course description is displayed in the course overview. It is also taken into account when searching for a course. The small blue question marks additionally clarify the respective function of the corresponding setting.
Course format[Bearbeiten | Quelltext bearbeiten]
Under Set course format the format for the whole course can be selected.
Format (1): PANDA offers four different formats
- The IMT defaults to the theme format.
We recommend using the theme format or the weekly format.
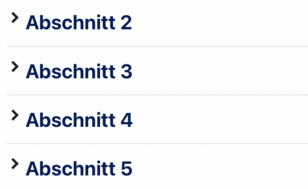
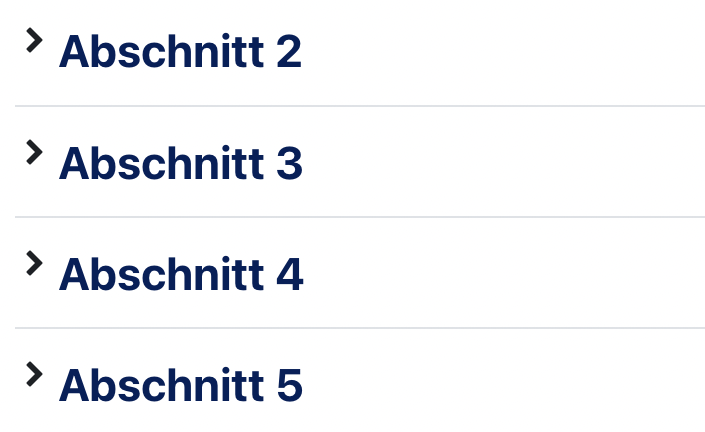
- Topic format: The course is divided into topic sections. This format is suitable if you are working on several delimitable topics within one semester. Different types of content can be provided for each topic section.
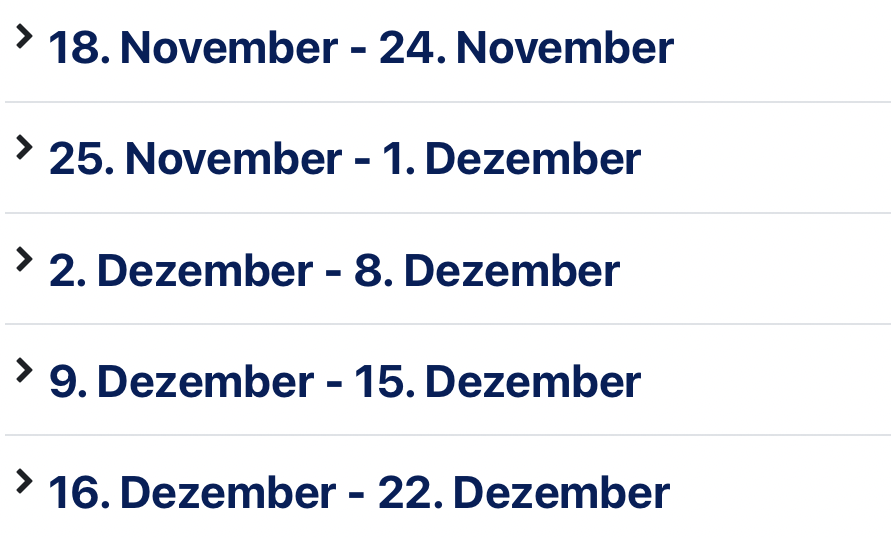
- Week format: This format is suitable if several materials and activities are to be set each week.
- The weekly format has the same subsections as the topic format.
- Social format: Only one forum is created. Beyond that nothing can be created.
- Number of discussions: Determines how many discussions are displayed.
- Single activity: Only one activity will be shown in the course, which one is freely selectable.
- Type of activity: Here you can select the activity you want to use. As the name of the format already indicates, only one selection is possible.
- Hidden Sections (2): These are course sections that are hidden by the instructor or are provided with an appropriate prerequisite and therefore are not visible to everyone. You can set that students are shown a corresponding gray hint (topic 3 is not available) so that they can prepare themselves for the fact that further topics still need to be worked on. You can also set that hidden sections are completely invisible. This setting is useful if course planning is only done gradually during the semester.
- Course display (3): Here you can determine whether all course sections (topics or weeks) will be displayed with all contents one below the other or only the topic names with a short overview and links. In any case you will see which activities are to be edited in that section and what your own editing status is.
In the course settings, various other settings can be made, but these usually do not need to be changed. If you want to mark in your course which contents have to be edited in any case it is recommended to activate the completion tracking.
Structuring hints: Restrict topics[Bearbeiten | Quelltext bearbeiten]
If you want to design your course in such a way that students have to solve certain tasks in order to progress in the course, you can limit the topics in each case.
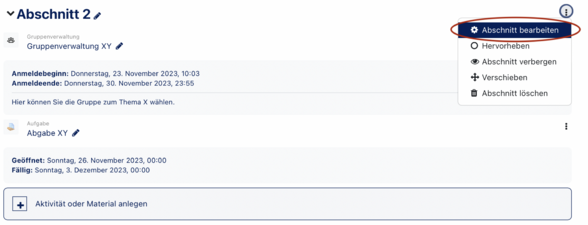
To do this, go to the appropriate course and click Enable Edit.
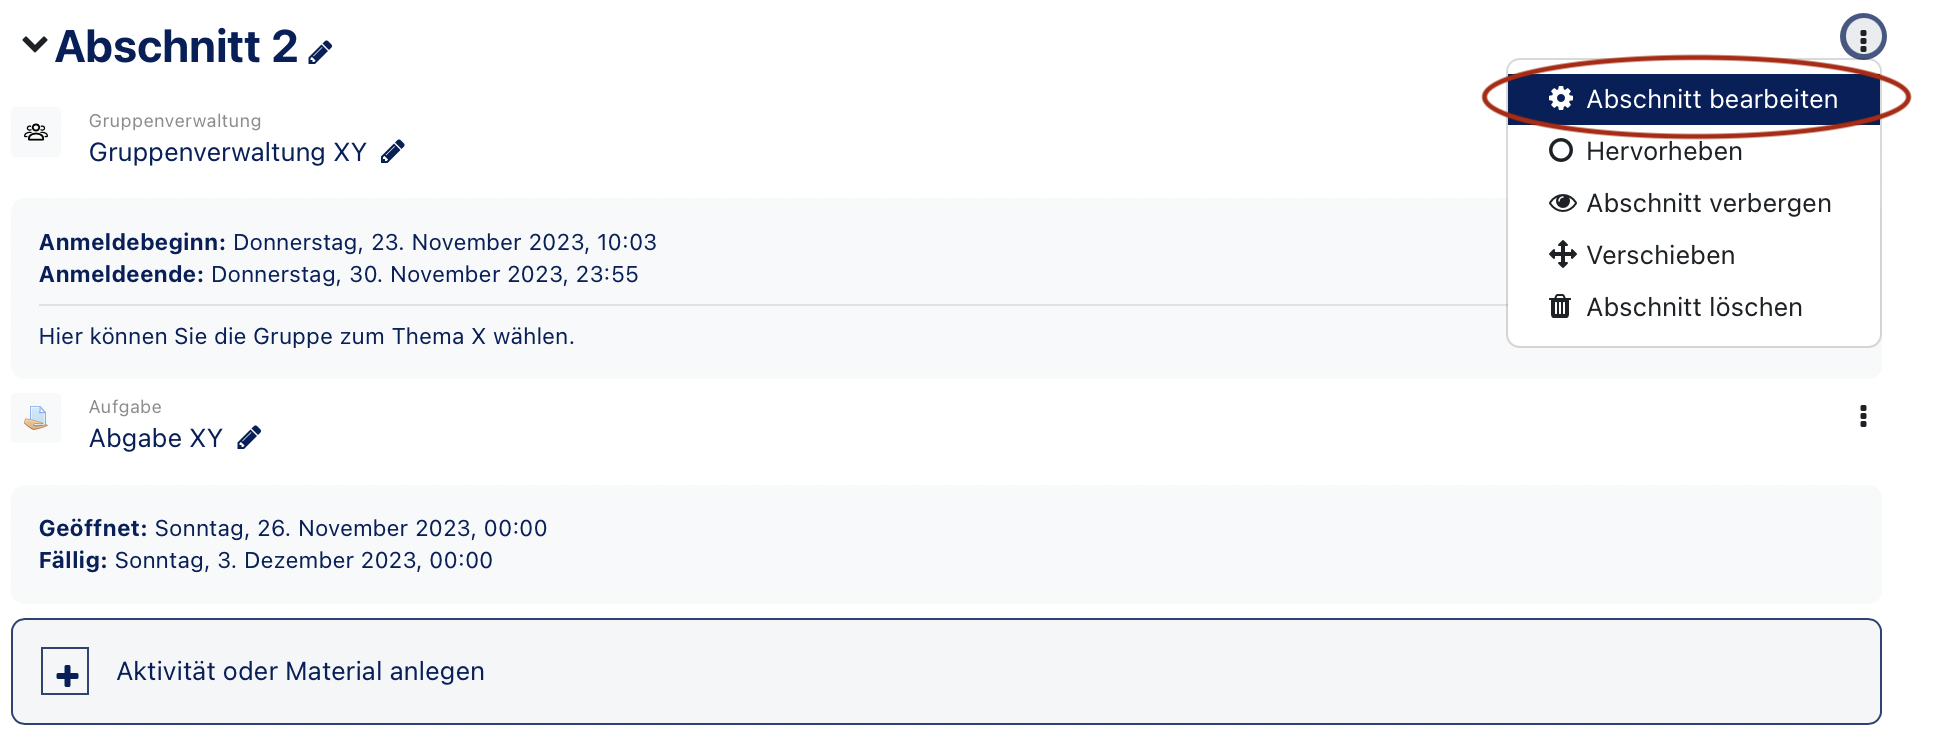
- Then click on Edit next to the topic you want to restrict.
- Another tab opens where you have to click on Edit Topic.
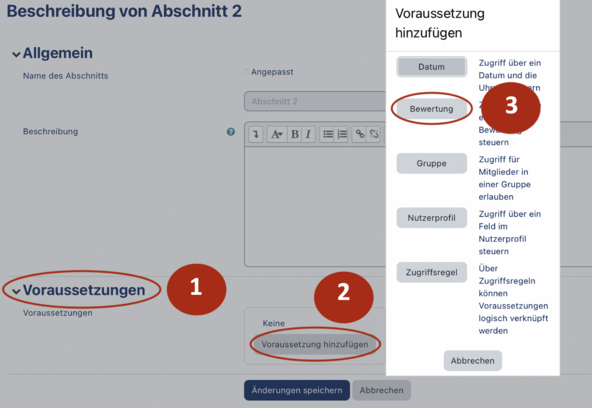
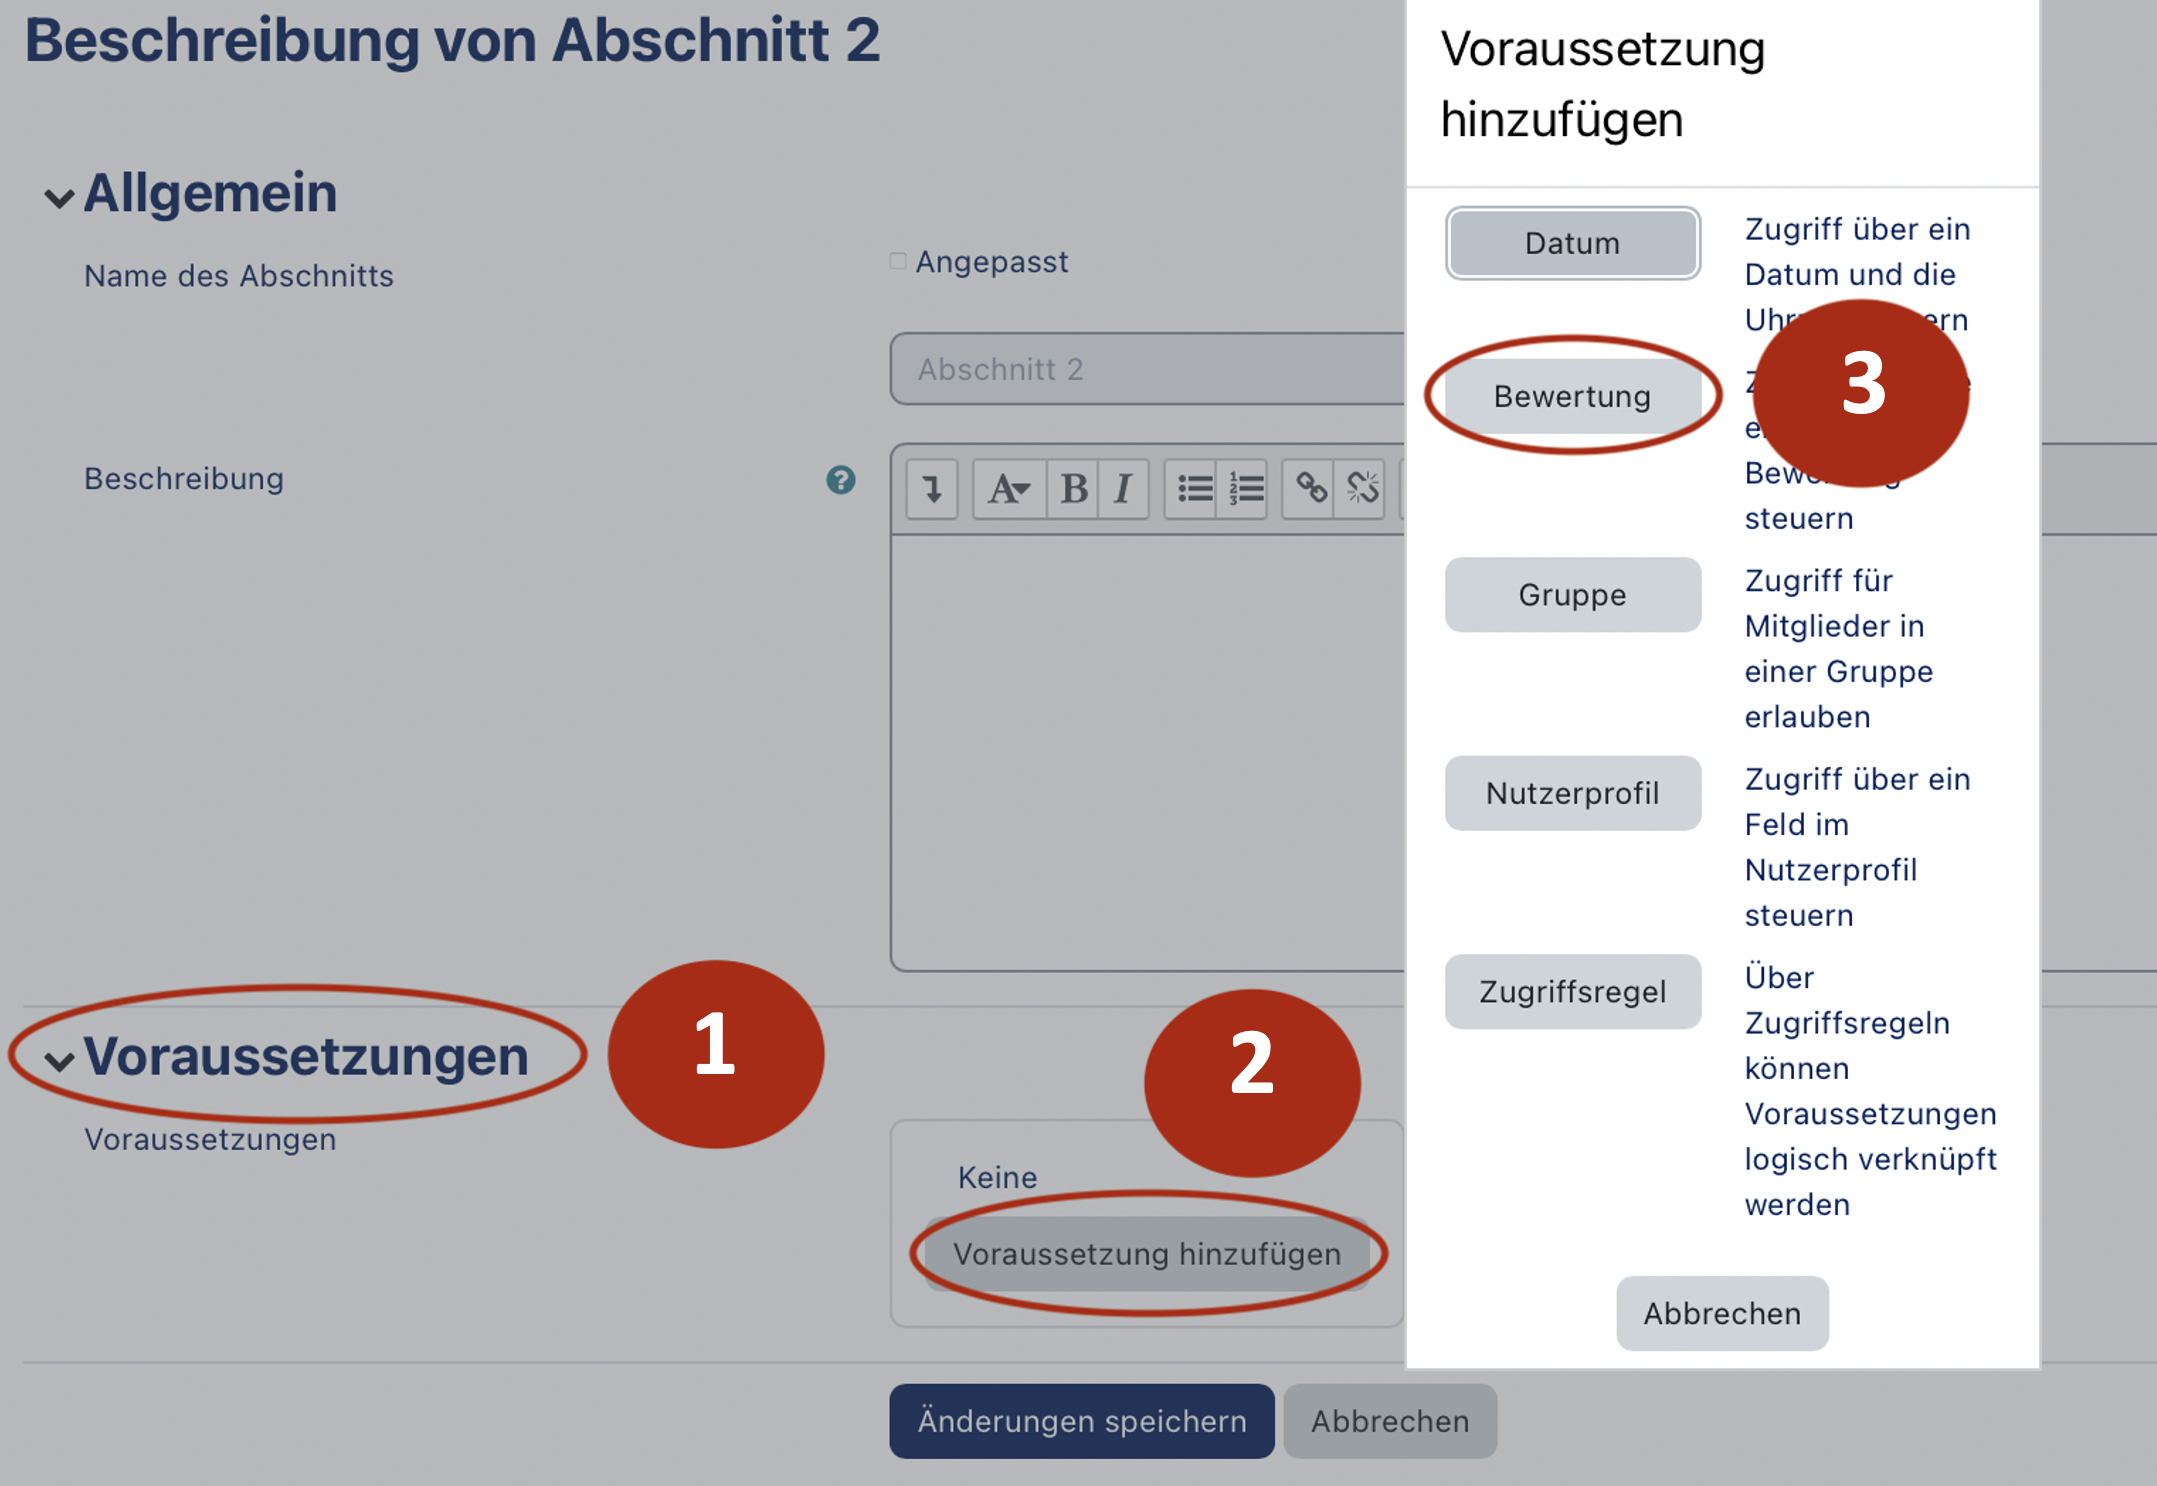
- Then click on Prerequisites (1) and then on Add Prerequisite (2).
- You can then decide which prerequisite you want to add: Date, Rating, Group, User profile or Access rule.
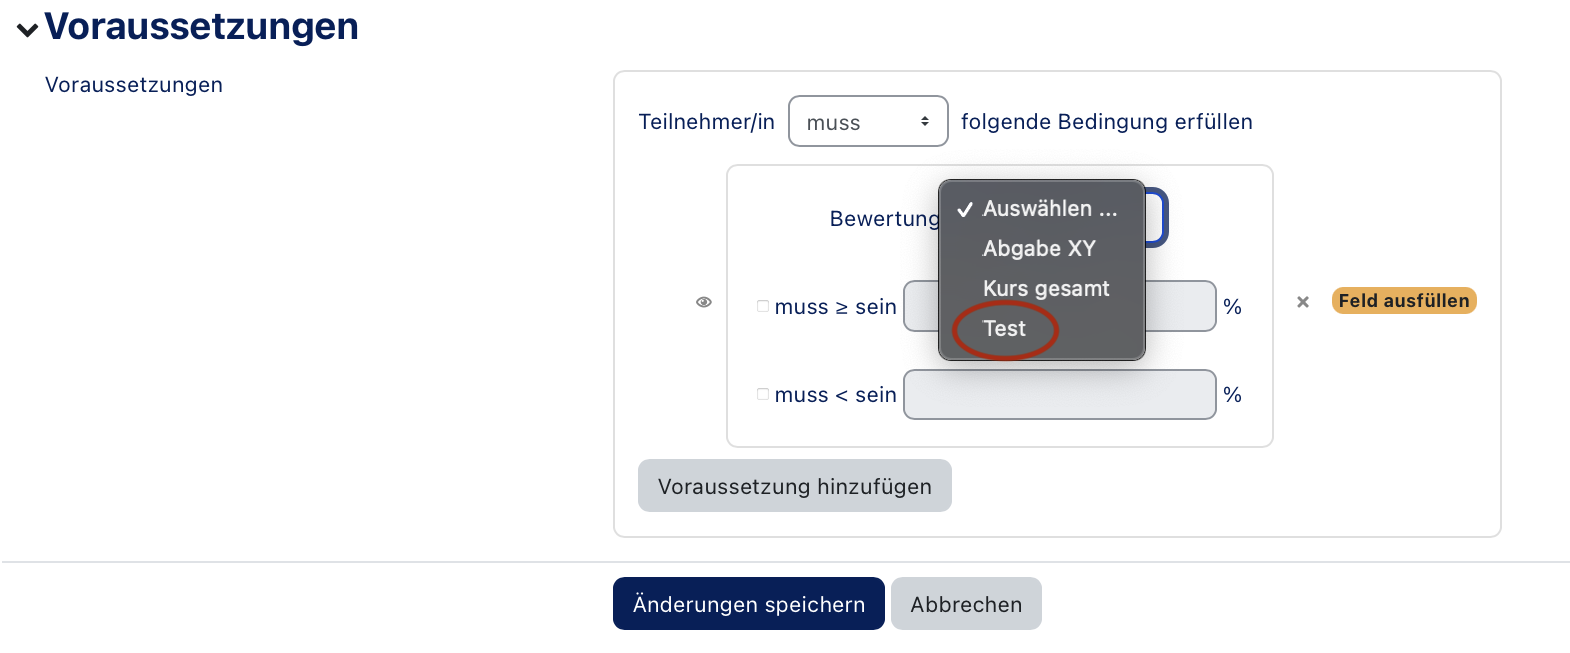
- Click on the corresponding field. In this example the prerequisite is the rating (3).
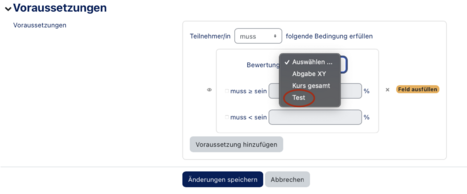
- Then select the rating that you want to set as a requirement.
- In this example, the test is used as a prerequisite.
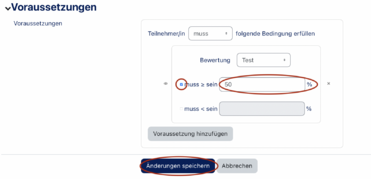
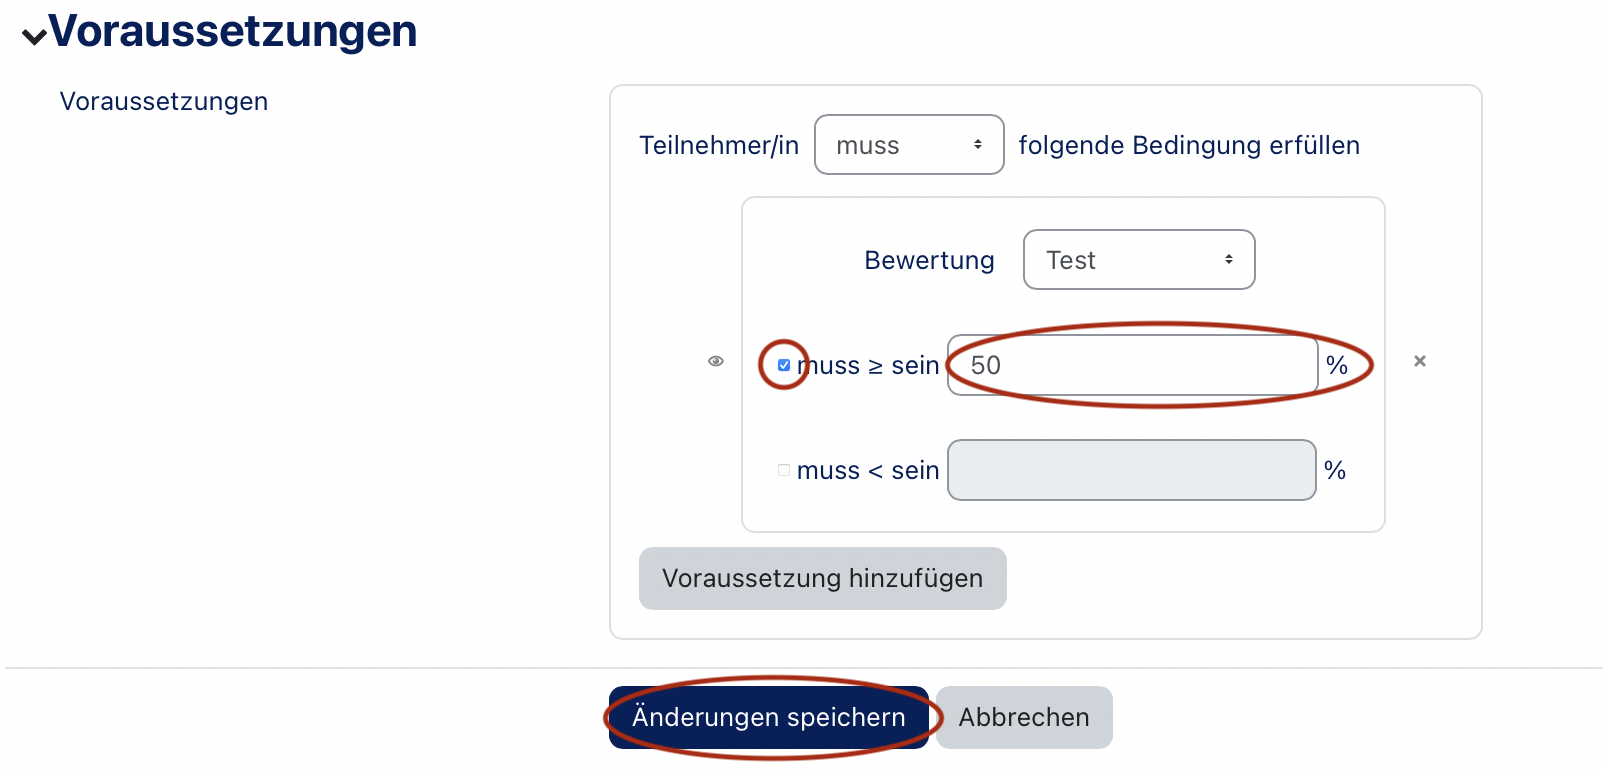
- If you want to enter a certain percentage that the participant must reach, check the box "must > be" and enter the desired number.
- Then click on Save changes.
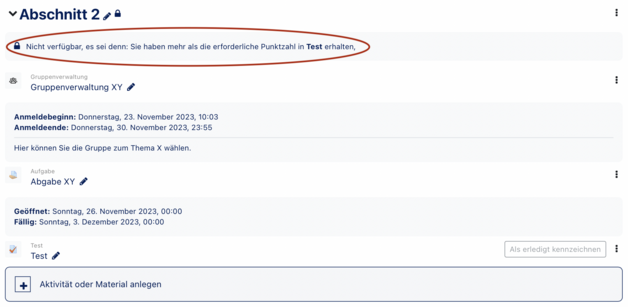
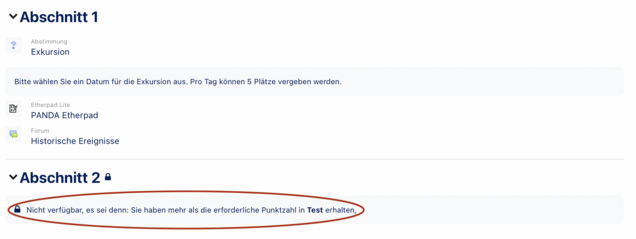
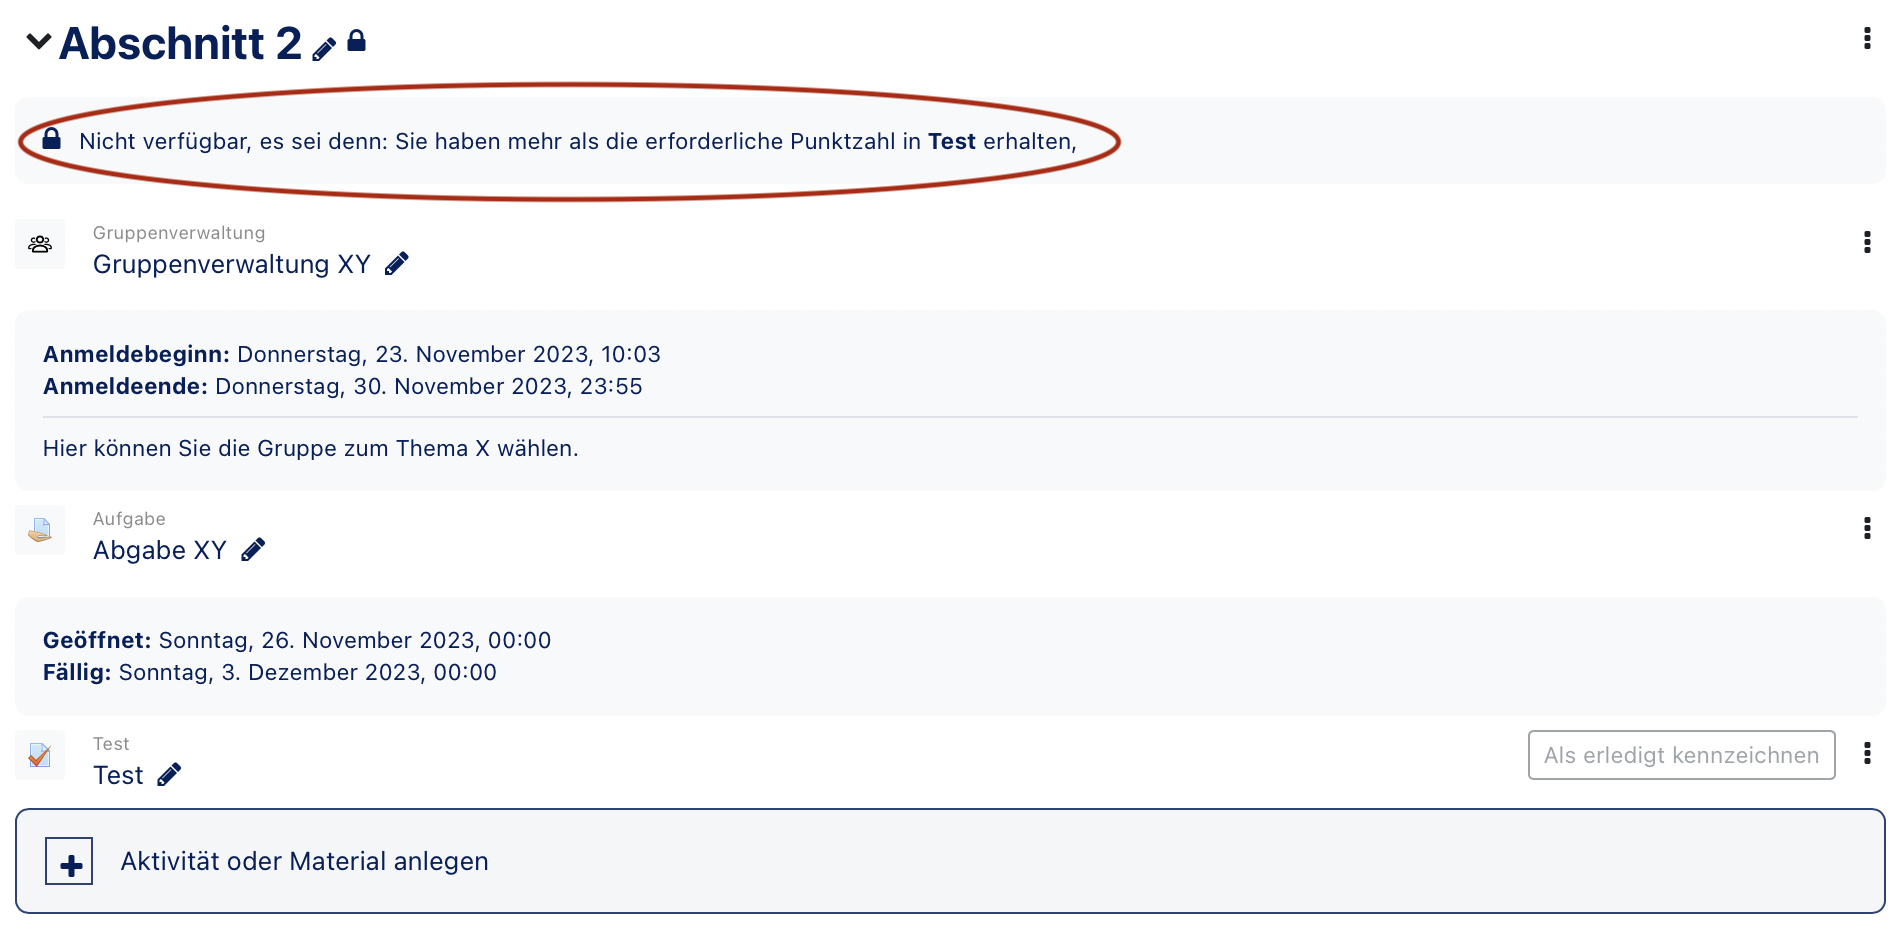
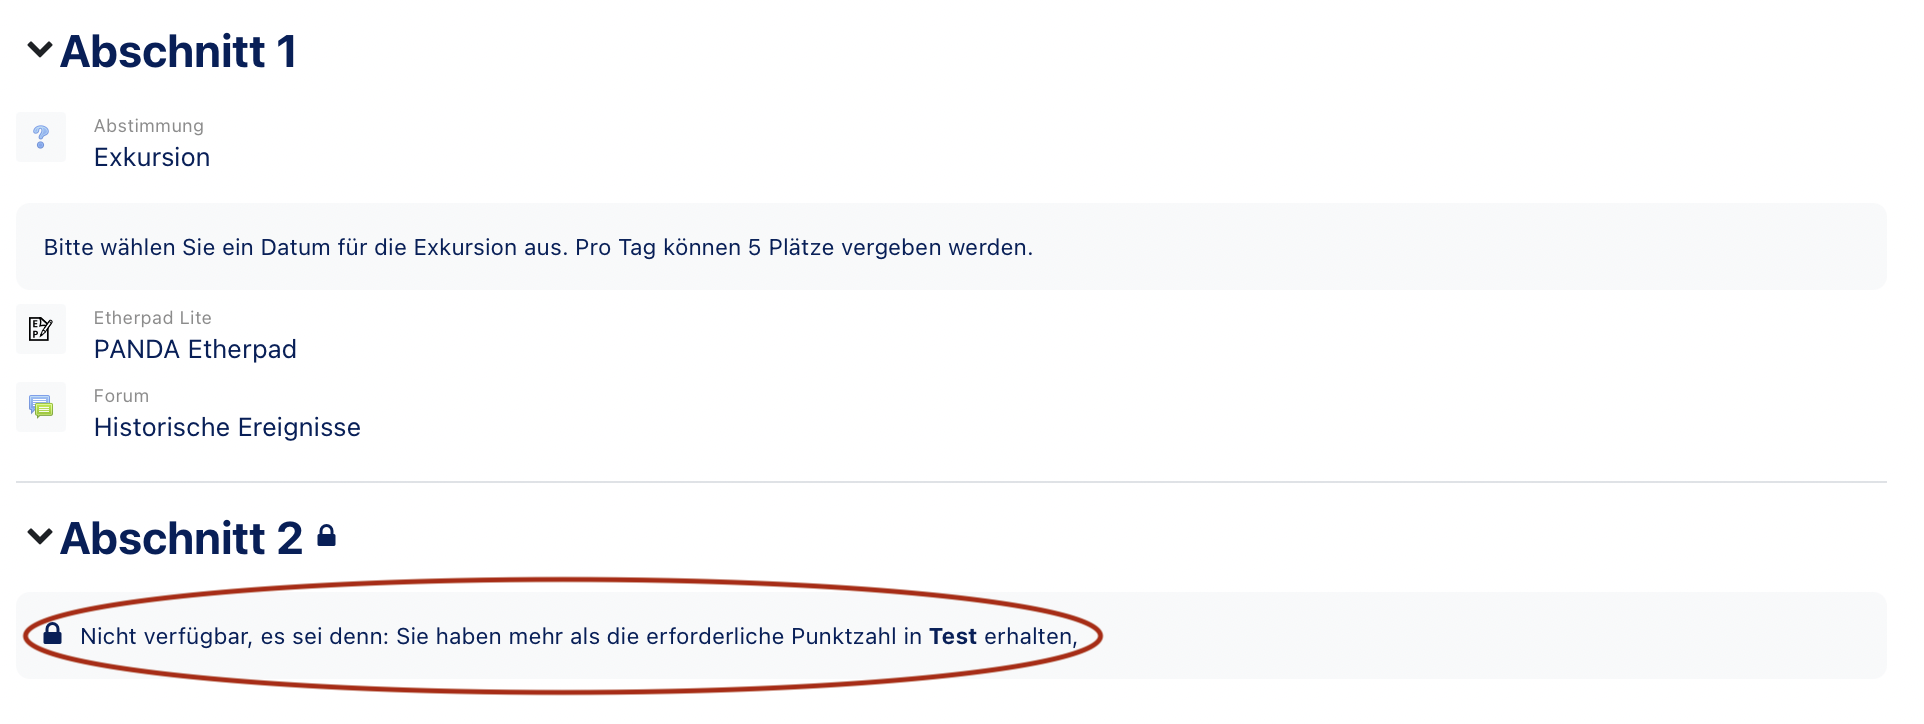
- Now you can see in the course that access to topic 2 is restricted until the student has taken the test with the corresponding score.
- However, you can still see the materials and activities contained in the topic.
- The participant sees the topic, but not the activities and materials it contains.
- He/she will only have access to these once the test has been completed and the corresponding score has been achieved.
Video - Basic course settings[Bearbeiten | Quelltext bearbeiten]
