Nutzungsszenario: Abgabe erstellen mit Datei-Upload/en /
Version vom 29. April 2020, 12:41 Uhr von Kschierm (Diskussion | Beiträge) (Die Seite wurde neu angelegt: „{{translated page |origin=Nutzungsszenario: Abgabe erstellen mit Datei-Upload |lang=en |translated title=Usage scenario: Create submission with file upload }}…“)
Die deutsche Version finden Sie auf der Seite Nutzungsszenario: Abgabe erstellen mit Datei-Upload
This article explains how to create submissions and upload files.
What needs to be done?[Bearbeiten | Quelltext bearbeiten]
- Add submission
- Upload file
Step-by-step instructions[Bearbeiten | Quelltext bearbeiten]
- Select the appropriate exercise and then upload the submission by clicking on Add submission.
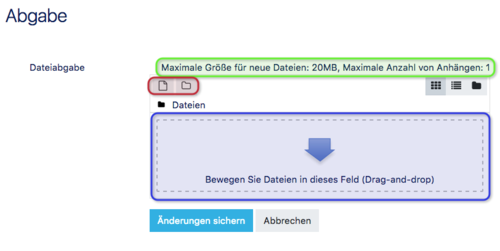
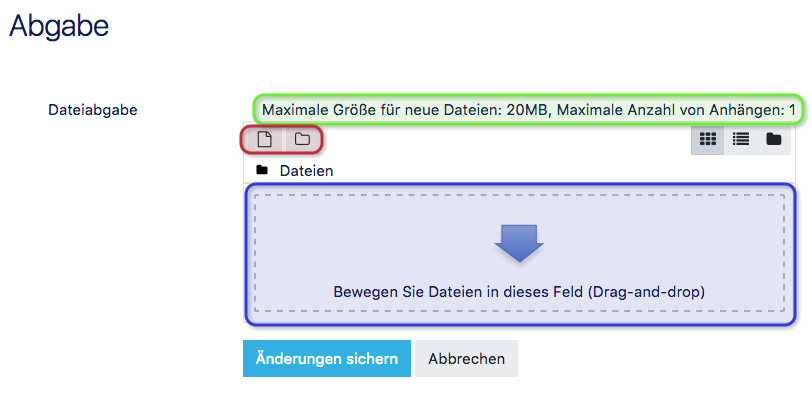
- The following window opens:
- Please note the information about the maximum file size and number of files (marked green in the screenshot): If more files than the maximum number of attachments is to be uploaded, the files must be compressed (preferably in .zip format, no unusual formats such as .7z).
- The file(s) can now be added either by drag-and-drop (marked blue) or by file selection (marked orange):
- Drag-and-drop: Drag the file(s) from the File Explorer into the blue field, for example.
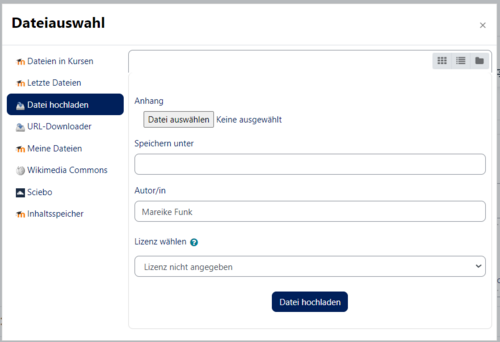
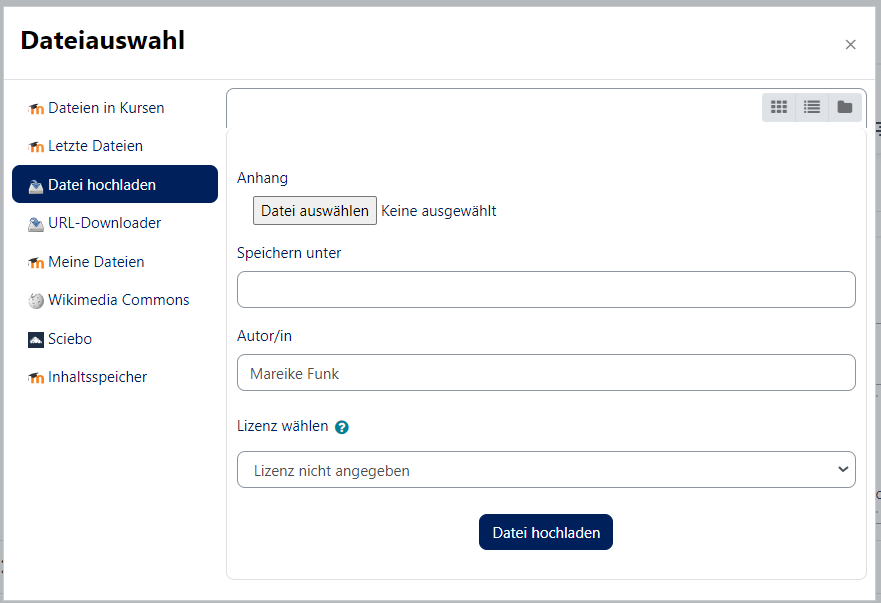
- File selection: The following window opens:
- Here you can now select one or more files from the file system via Browse.... Save as, Author and License can remain unchanged. The upload is confirmed by clicking on Upload file.
- Finally, the changes must be confirmed by clicking on Save changes.


