Mail einrichten unter Android/en
Die deutsche Version finden Sie auf der Seite Mail einrichten unter Android
This tutorial describes how to set up the university E-Mail-Address on Android Smartphones and Tablets. In this example, we unse the Gmail-App by Google. Other Apps may work similar. We can't offer tutorials for every app.
Do you have an exchange account? Please go to Setup Exchange
Step-by-step description[Bearbeiten | Quelltext bearbeiten]
Add account[Bearbeiten | Quelltext bearbeiten]
 Open the Gmail-App.
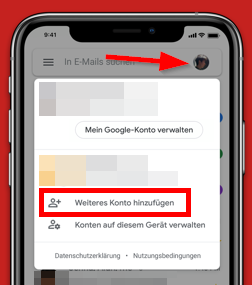
- Click on the Account-Symbol.
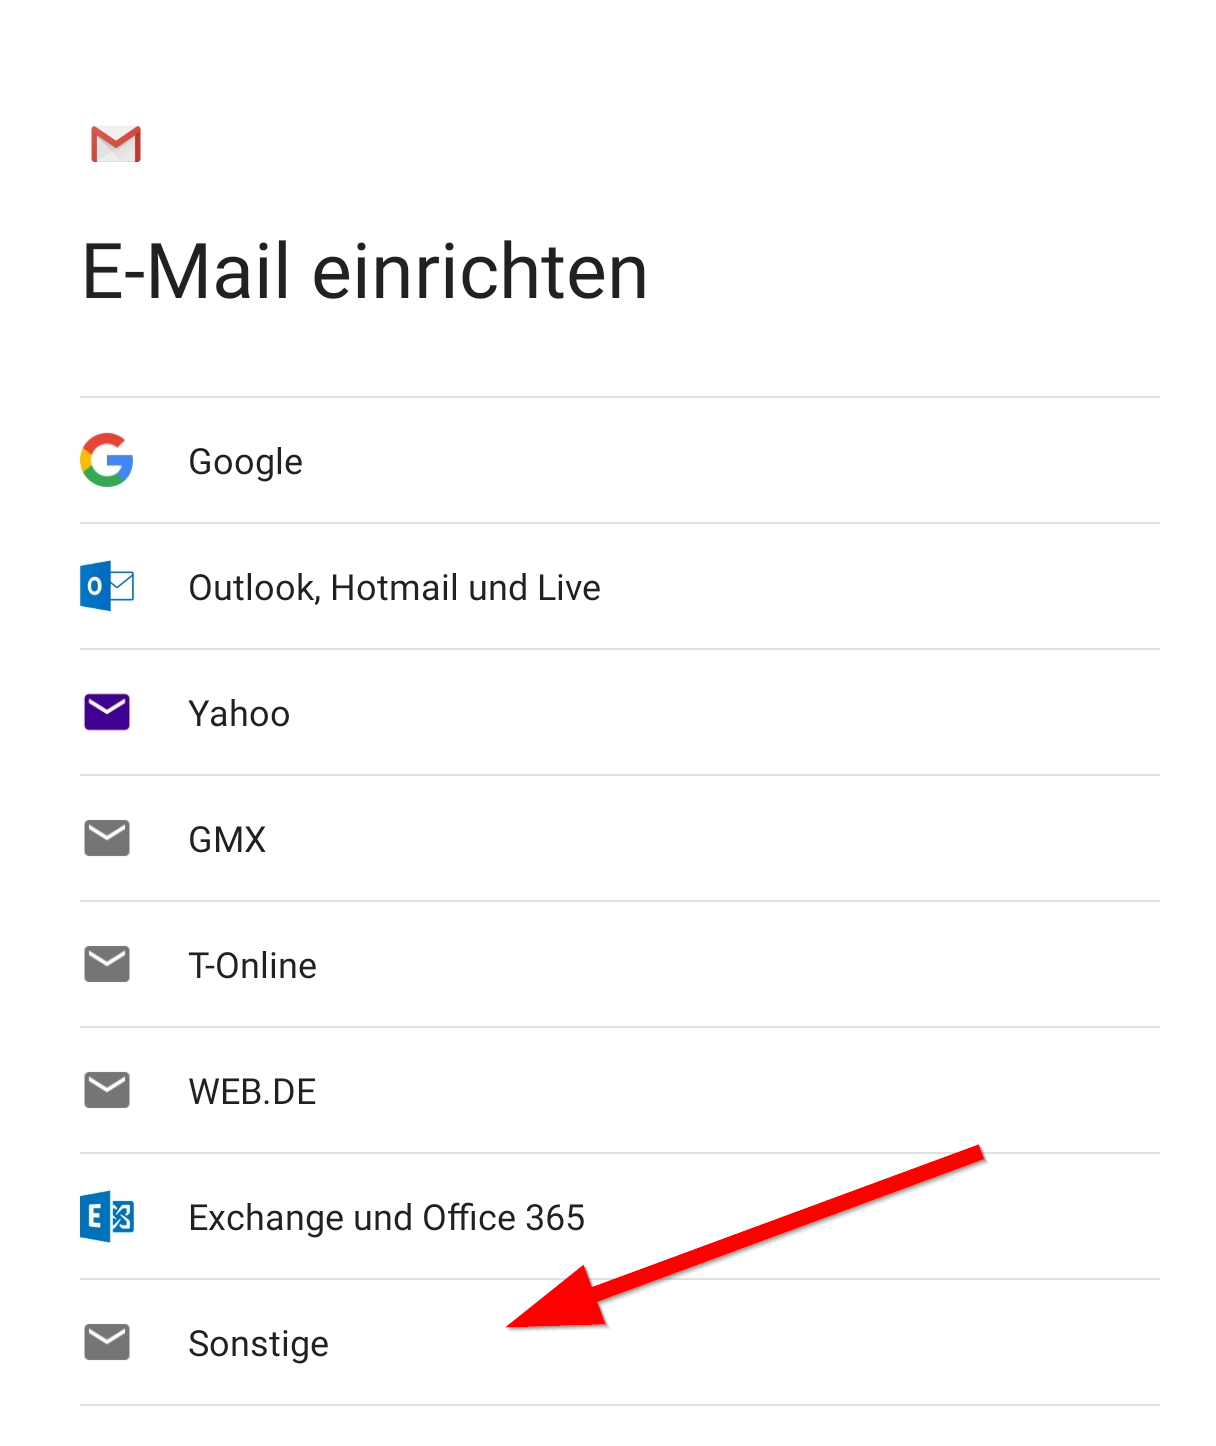
- Click on "Add additional account".
Account settings[Bearbeiten | Quelltext bearbeiten]

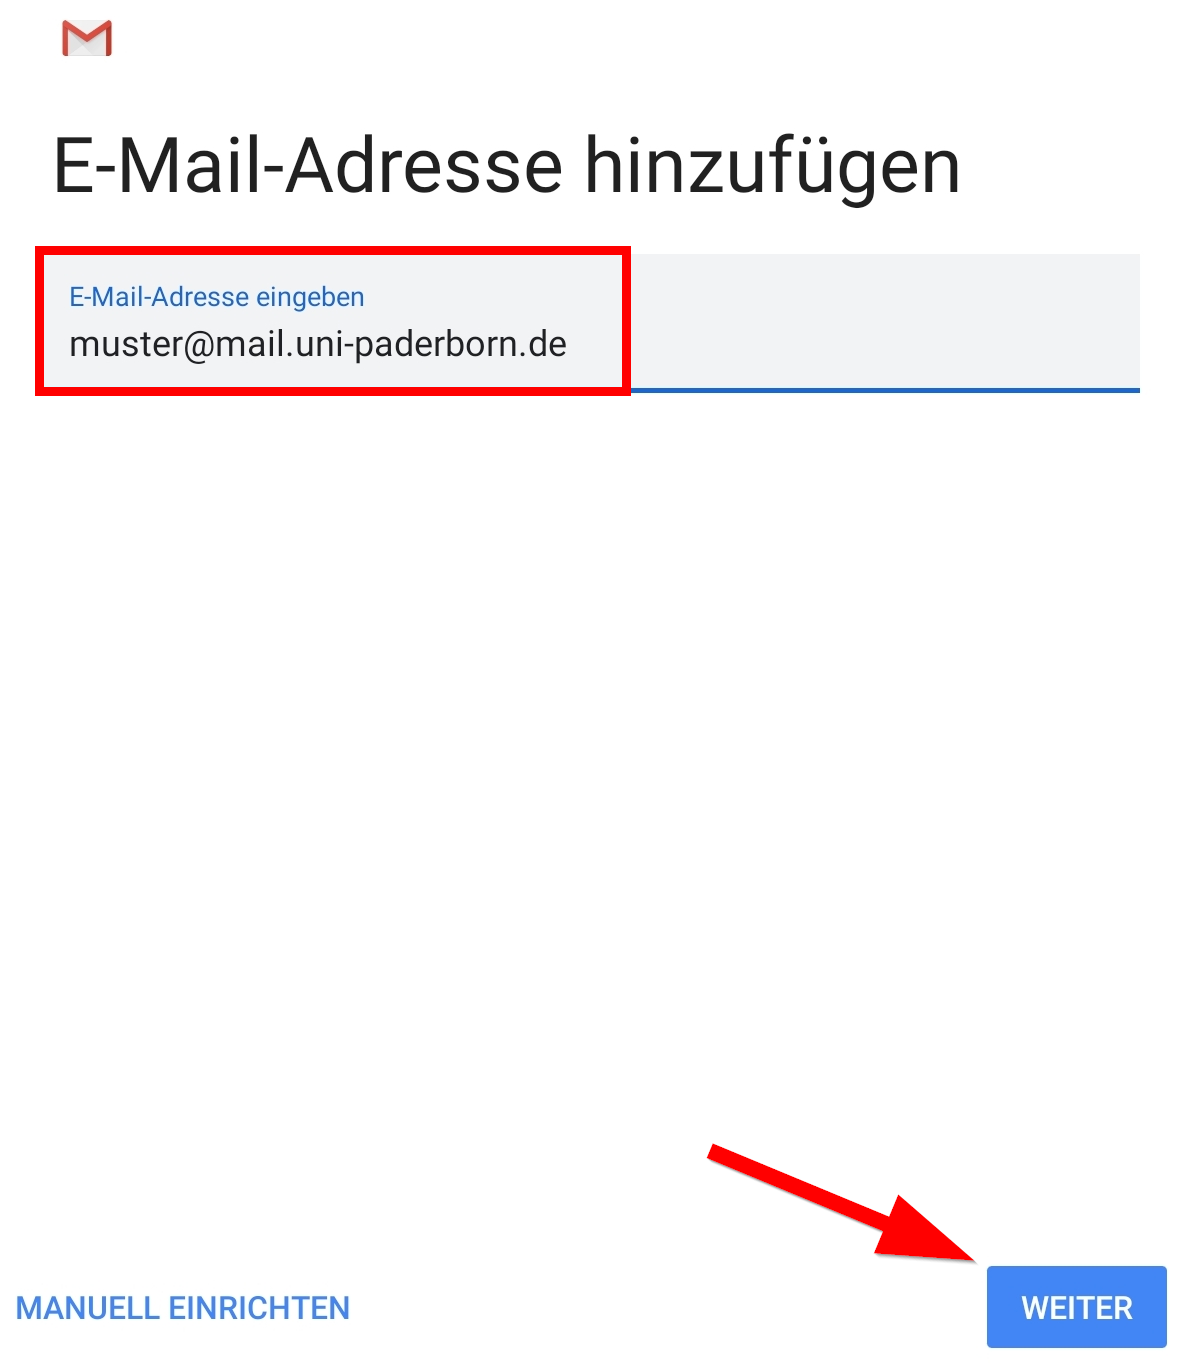
Further info: Which mail address do you have?
As student or employe you have the following e-mail adresses:
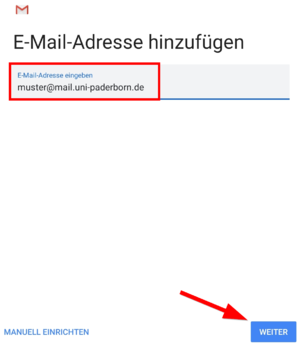
- username@mail.uni-paderborn.de
- username@campus.uni-paderborn.de
- username@mail.upb.de
- username@campus.upb.de
Employes have additionally the following E-Mail-Adress:
- name.surname@uni-paderborn.de
- name.surname@upb.de
- Contact the ZIM for additional E-Mail-Aliases.
All aliases are available in the same mailbox. Choose one as you like for sending an receiving mails.


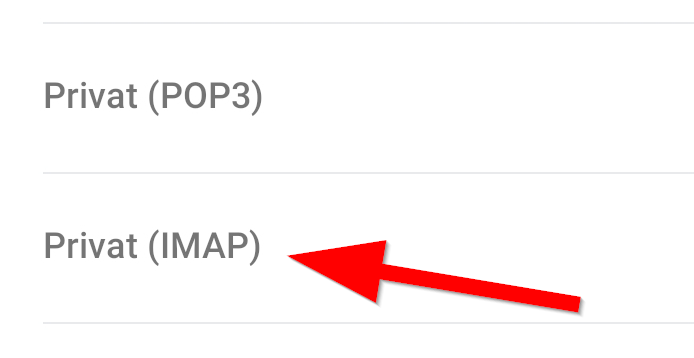
IMAP or POP?
- By using IMAP all changes are synced to the server. If you delete an e-mail, it will be deletet on all your devices.
- By using POP3 no changes are synced to the server. If you delete an e-mail, it will only delete on the current device. Not on other devices.
- We recommend using IMAP. The POP3 support may be canceled in the future.
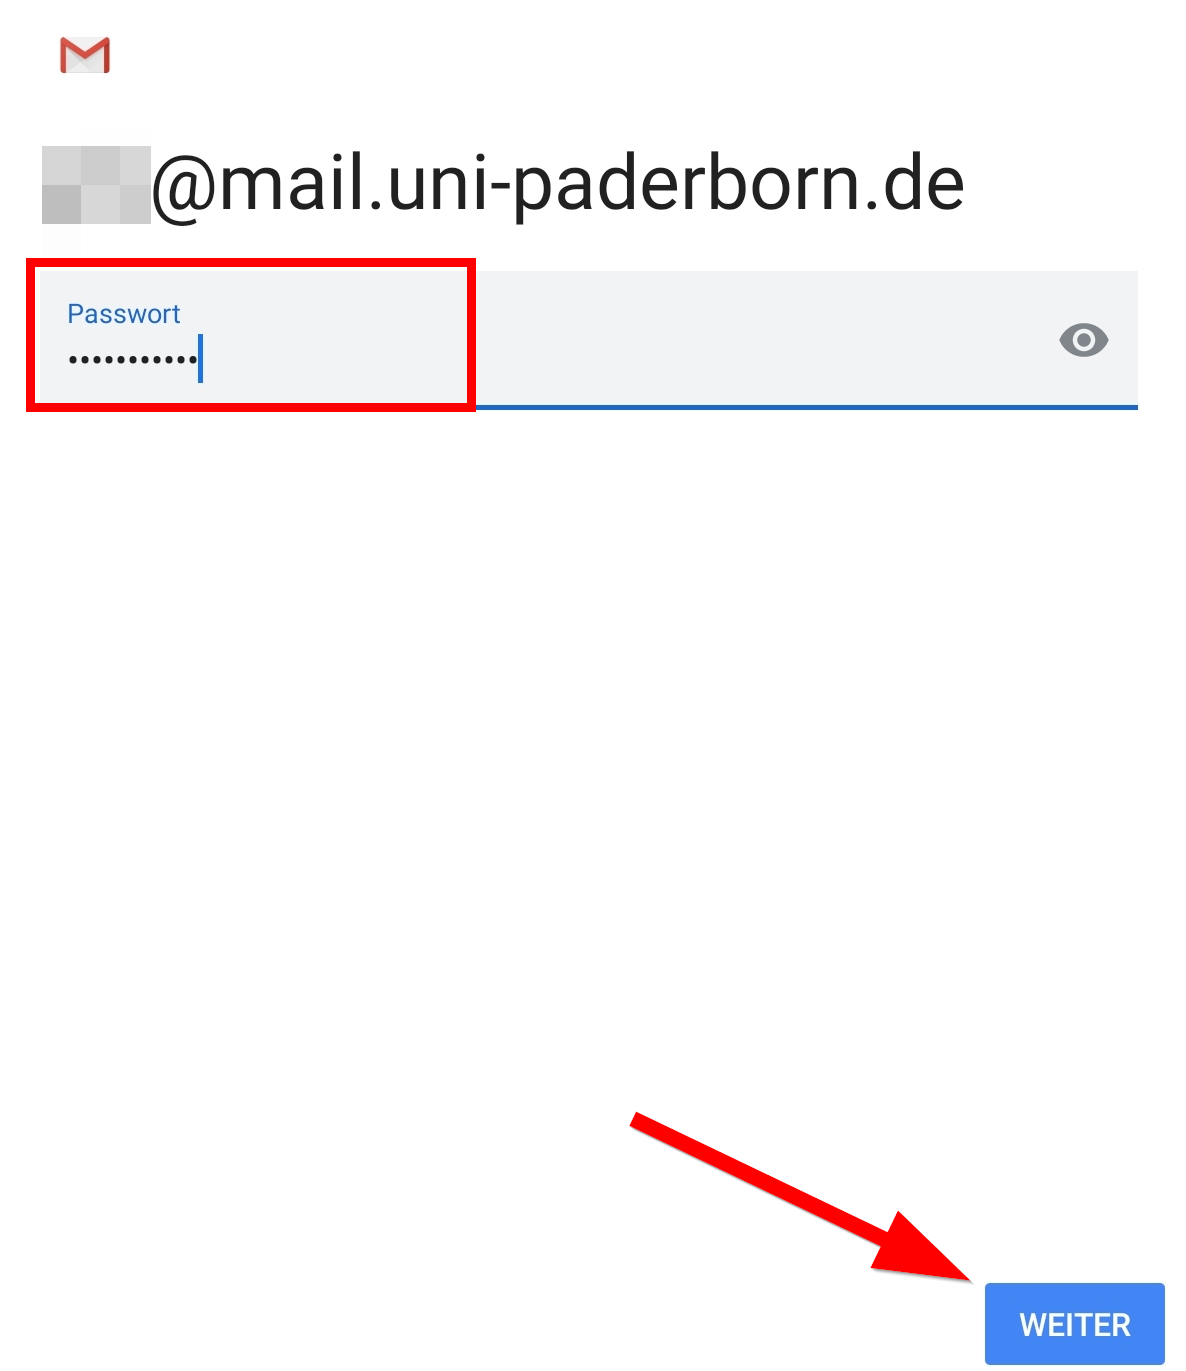
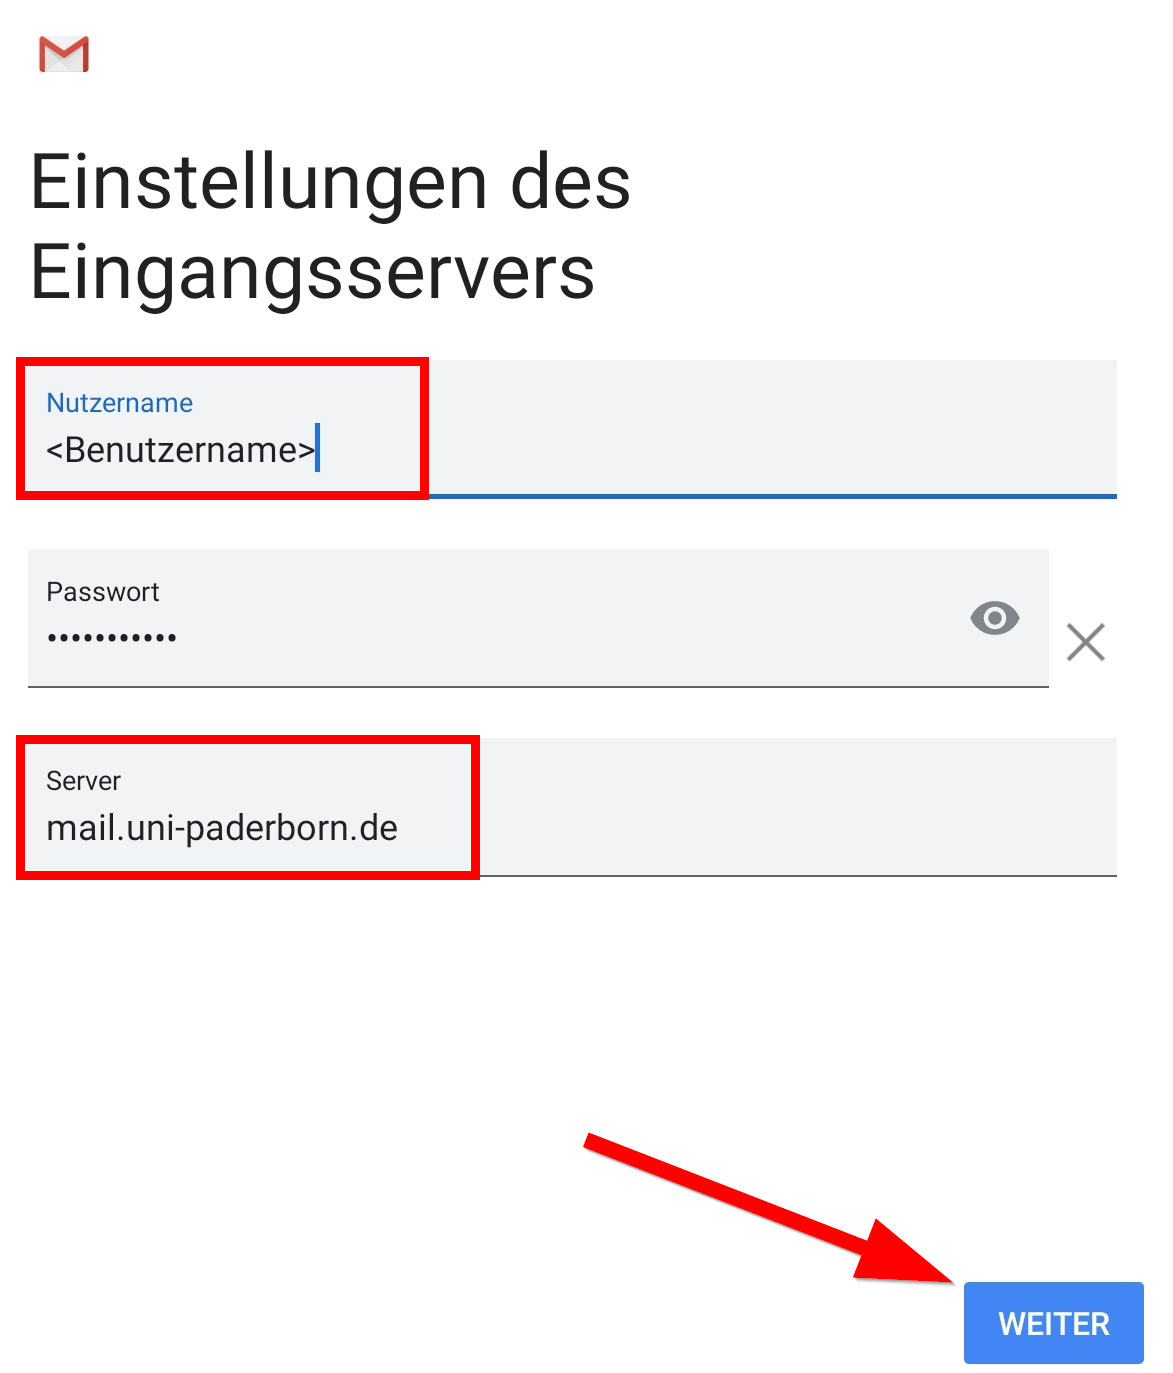
Check the following settings:
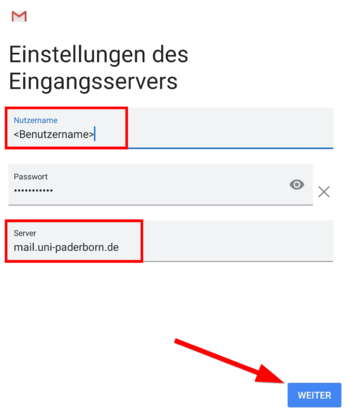
- Username: Your username for the Uni-Account.
- Password: Your password for the Uni-Account.
- Server: mail.uni-paderborn.de
- Click on "Next".
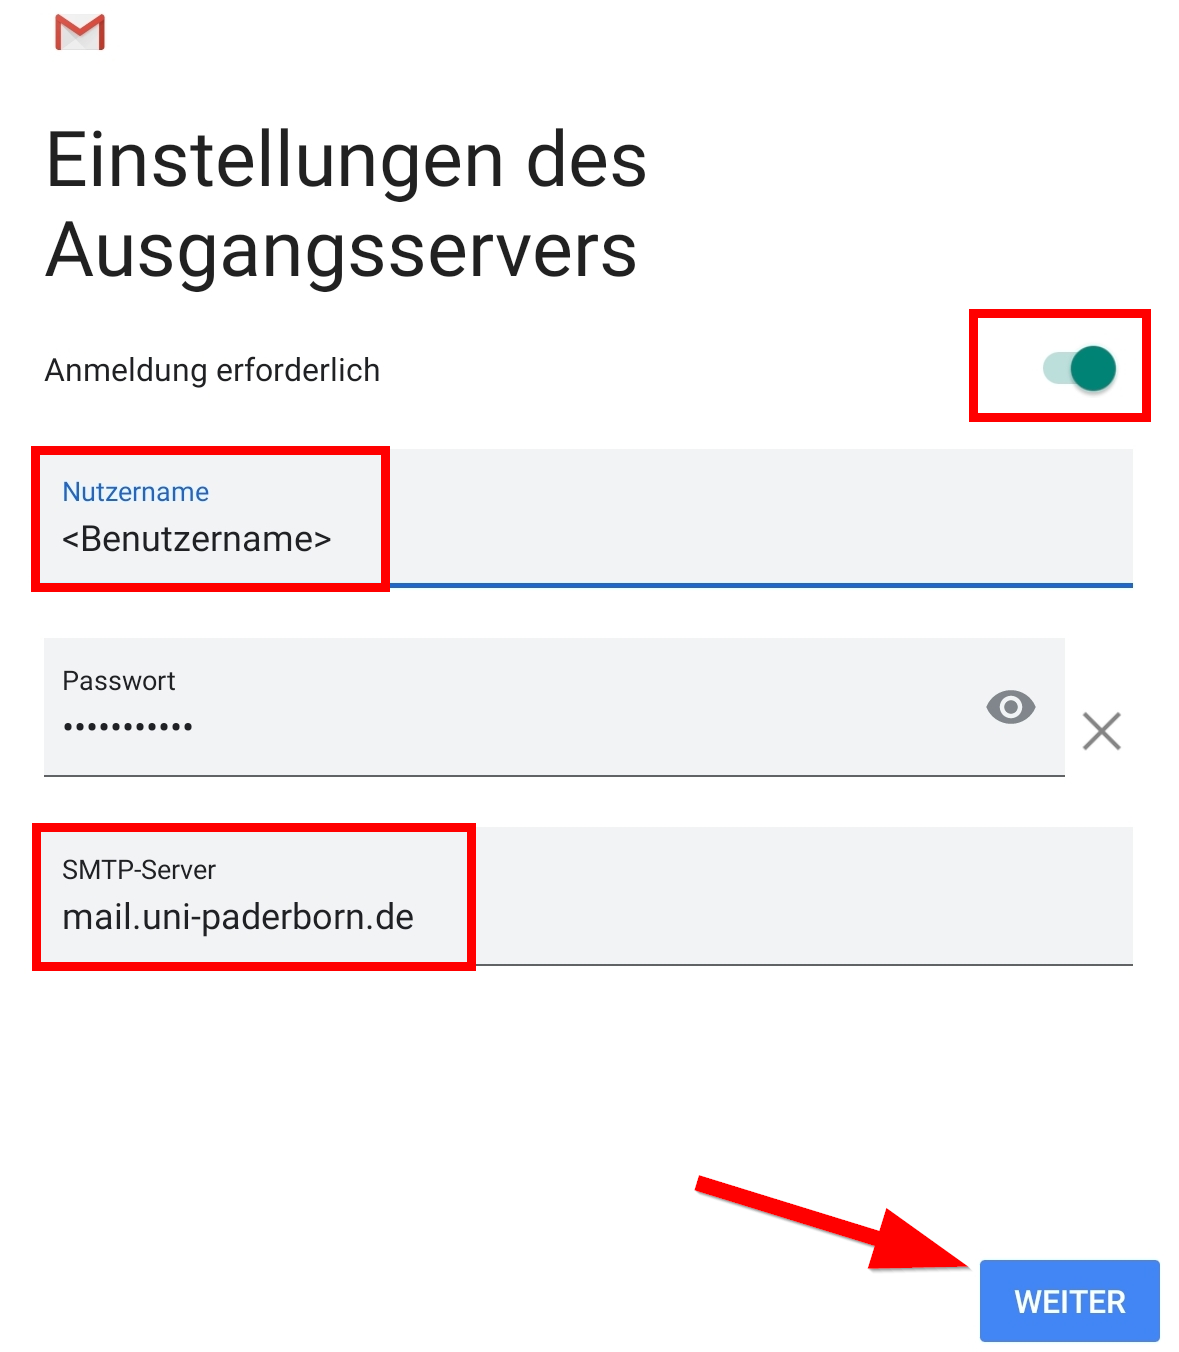
Check the following settings:

- Log in necessary: Active
- Username: Your username for the Uni-Account.
- Password: Your password for the Uni-Account.
- Server: mail.uni-paderborn.de
- Click on "Next".

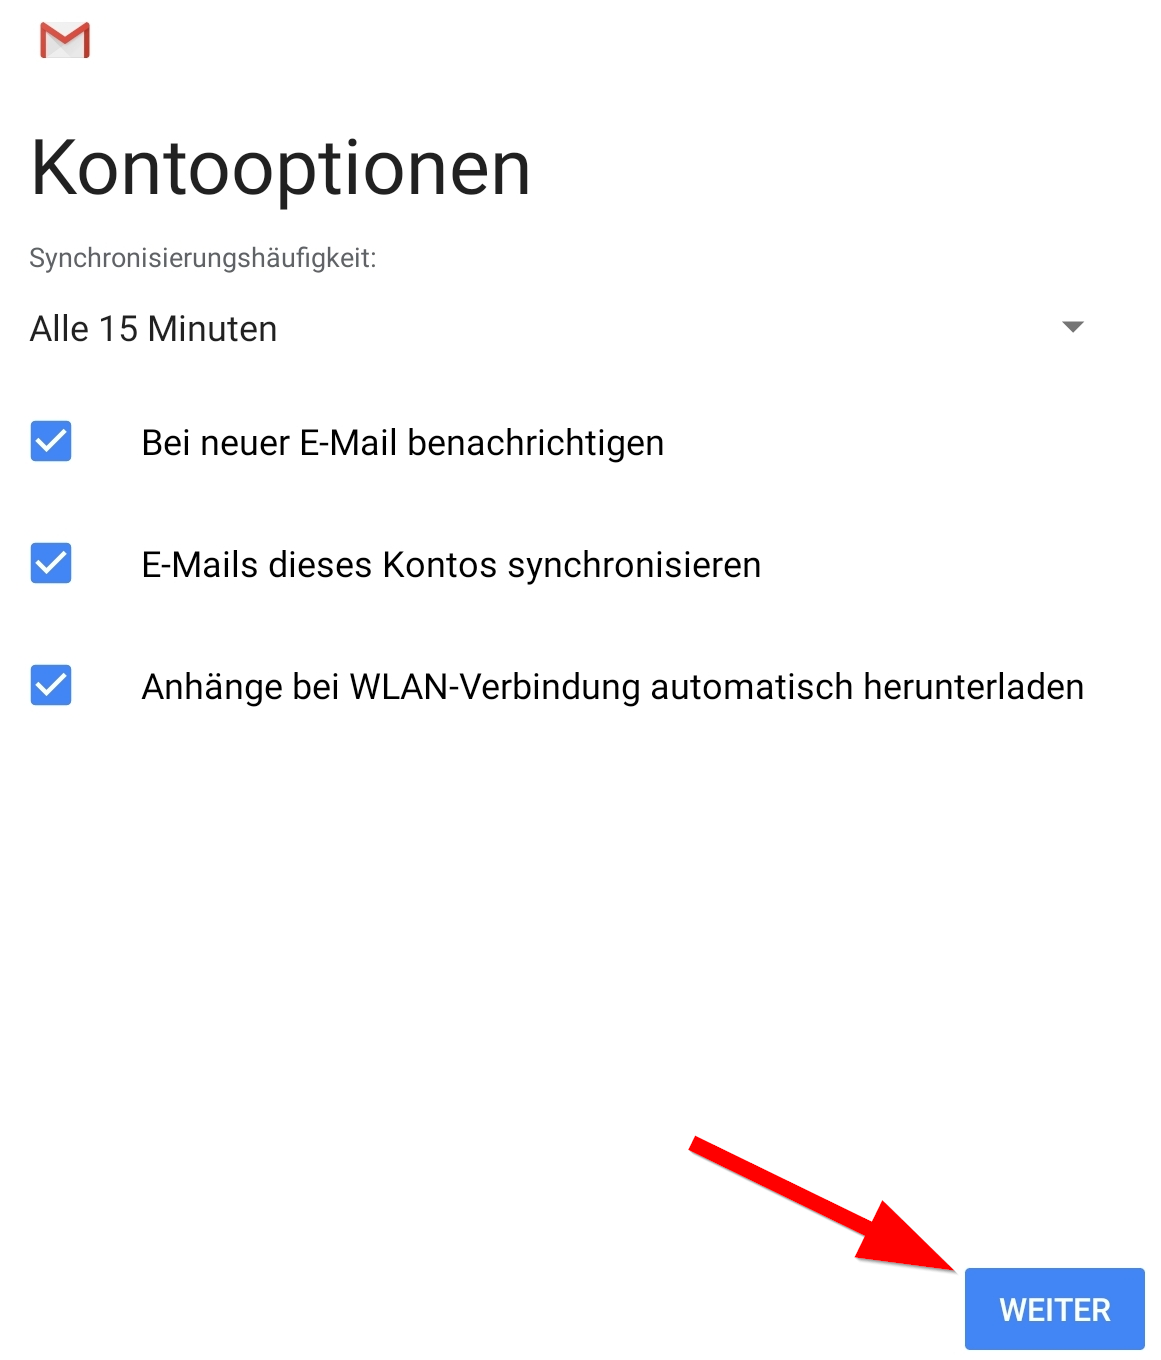
- You can use default settings here.
- Click on "Next".
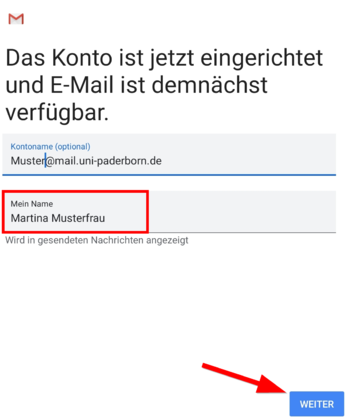
- Account name: Description - Choose as you like.
- My name: Enter your Name - This will be displayed if you send mails.

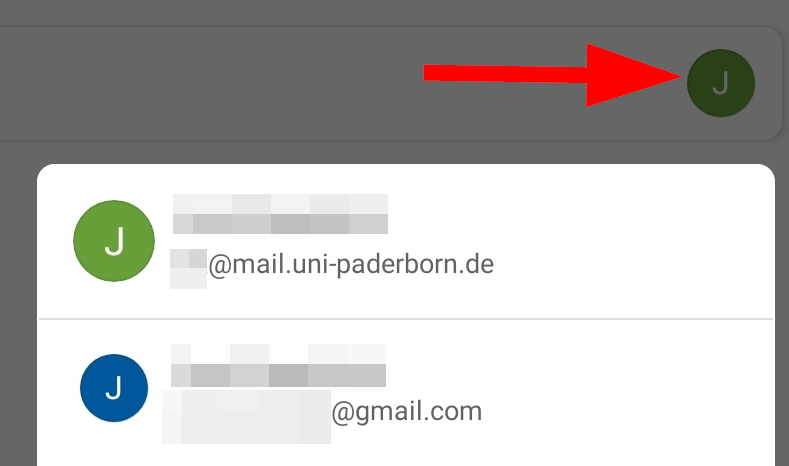
- The process was successful.
- By using the "Account-Icon you can switch between mailboxes.

