These instructions show you how to set up a VPN connection to the university network on the iPhone and iPad.
A Virtual Private Network ensures secure access to the university network from external networks.
Certain services are only available from the university network. This includes, for example, accessing network drives and downloading online resources from the university library homepage.
Do you want to access these services and are not at university? Then you need a VPN connection.
Simultaneous connections[Bearbeiten | Quelltext bearbeiten]
🛈
Do you want to connect your laptop and your mobile phone to the VPN in addition to your PC? You can set up VPN connections on multiple devices. However, each person can only establish one connection per VPN at the same time.
What does that mean?
Uni-VPN
- If you use the Uni-VPN, you can only establish one connection at a time.
- You cannot establish a connection to the Uni-VPN on another device at the same time.
- You must disconnect the existing connection first.
Group VPN
- If you use a group VPN, you cannot establish a second VPN connection to this group VPN on another device at the same time.
- You must disconnect the existing connection first.
- However, you can establish a parallel connection to the Uni VPN or another group VPN on another device.
What needs to be done?[Bearbeiten | Quelltext bearbeiten]
- Install OpenVPN Connect from the AppStore.
- Download a Personal Certificate File whose file extension is .OVPN12.
- Open this .OVPN12 file on the iOS device, select "Open with OpenVPN-Connect" and import the certificate there.
- Download the configuration file:
- Use this to set up the VPN connection in OpenVPN.
Step-by-step instructions[Bearbeiten | Quelltext bearbeiten]
Install OpenVPN Connect[Bearbeiten | Quelltext bearbeiten]
 Install the OpenVPN Connect app. You can find these like other apps in the AppStore.
Then open the OpenVPN Connect app and agree to the terms of use with "Accept".
Import network certificate[Bearbeiten | Quelltext bearbeiten]
For the VPN connection we need a network certificate. You cannot use the Eduroam certificate that may already be installed.

- Open the service portal using Safari.
- Log in with your university account.
Note: Do not use an alternative browser such as Google Chrome or Firefox for this. Downloading files in other browsers is not permitted on iOS.

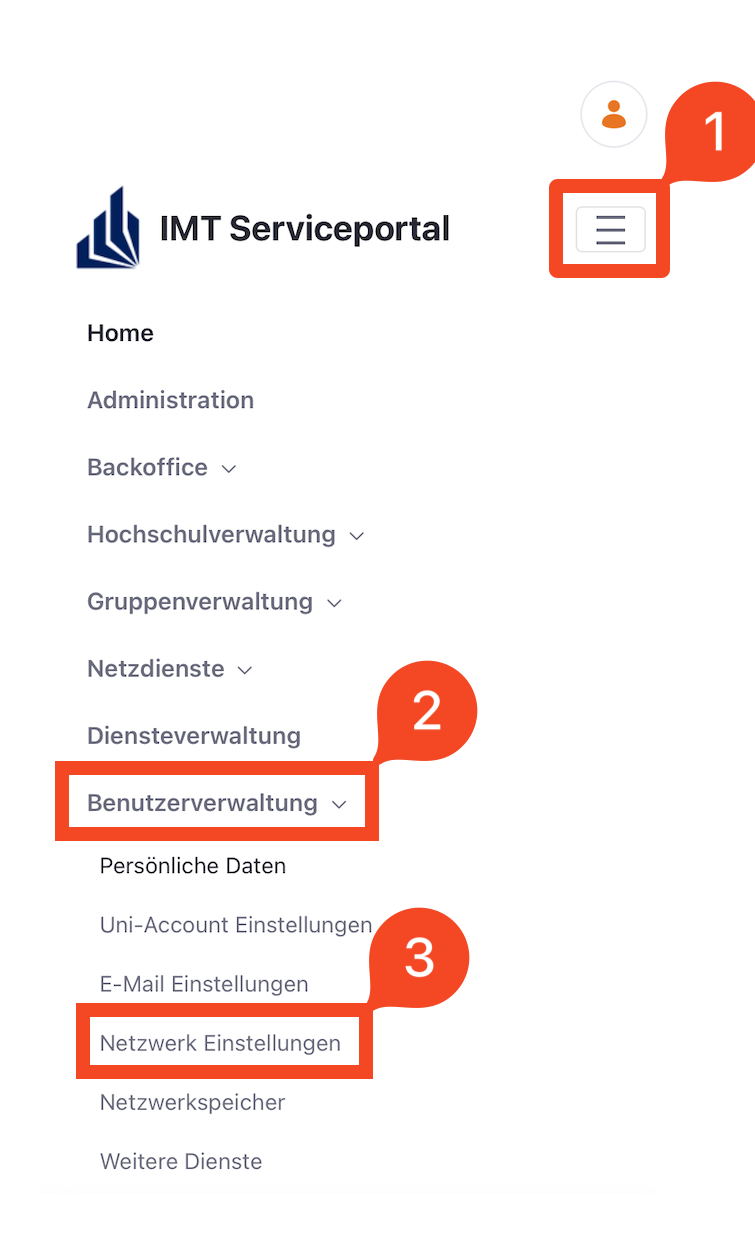
- Click on the 3 vertical bars at the top right.
- Click on Benutzerverwaltung and then Netzwerkeinstellungen.
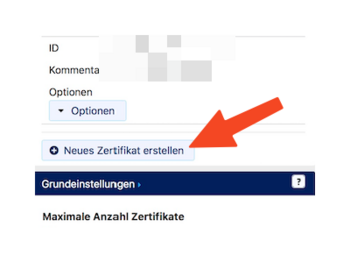
- Click Neues Zertifikat erstellen.
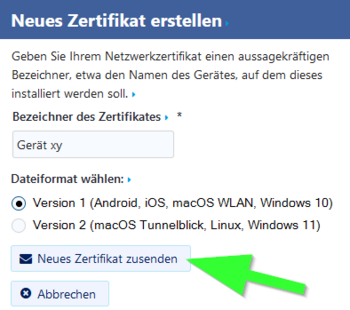
- Give the certificate a unique name (Example: iPhone VPN)
- Select Version 1 as the file format.
- Then click on Neues Zertifikat zusenden.
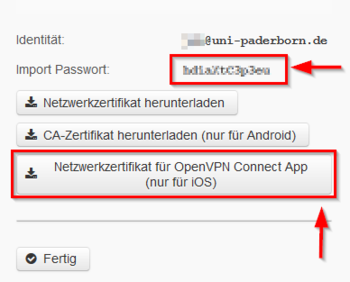
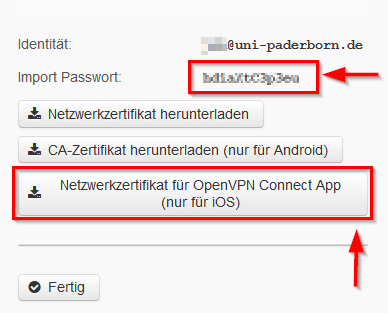
- A new network certificate has now been created for you.
- First copy the Import Password to the clipboard.
- Now click on "Netzwerkzertifikat für OpenVPN Connect App (nur für iOS)".

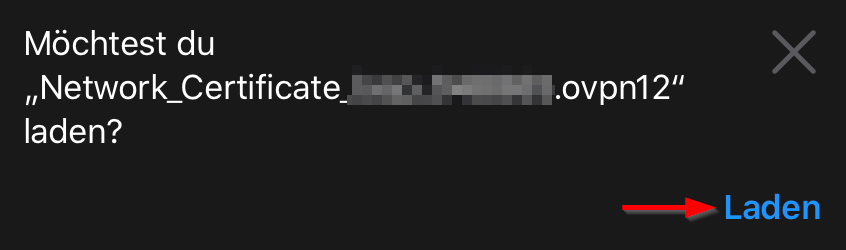
- Click on "Load".
- Your network certificate has been downloaded.
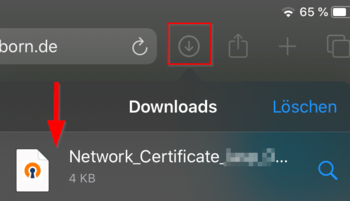
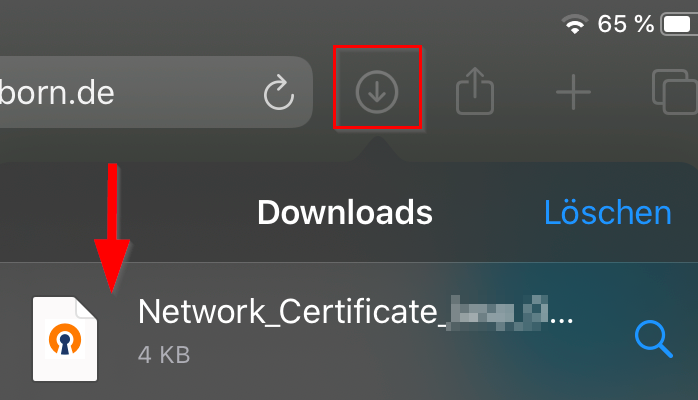
- Click on the "Download Button".
- Open the "Network_Certificate file" by clicking on it.
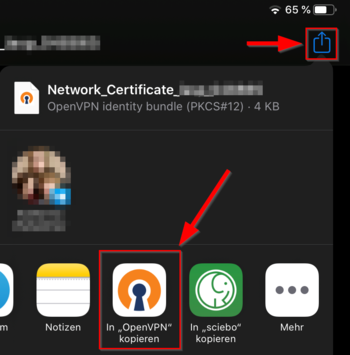
- In newer iOS versions, the file opens automatically in OpenVPN.
- If this is not the case, manually select OpenVPN from the list of applications with which you want to open the file. You may need to click on "More" and swipe some elements to the side.
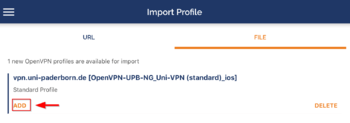
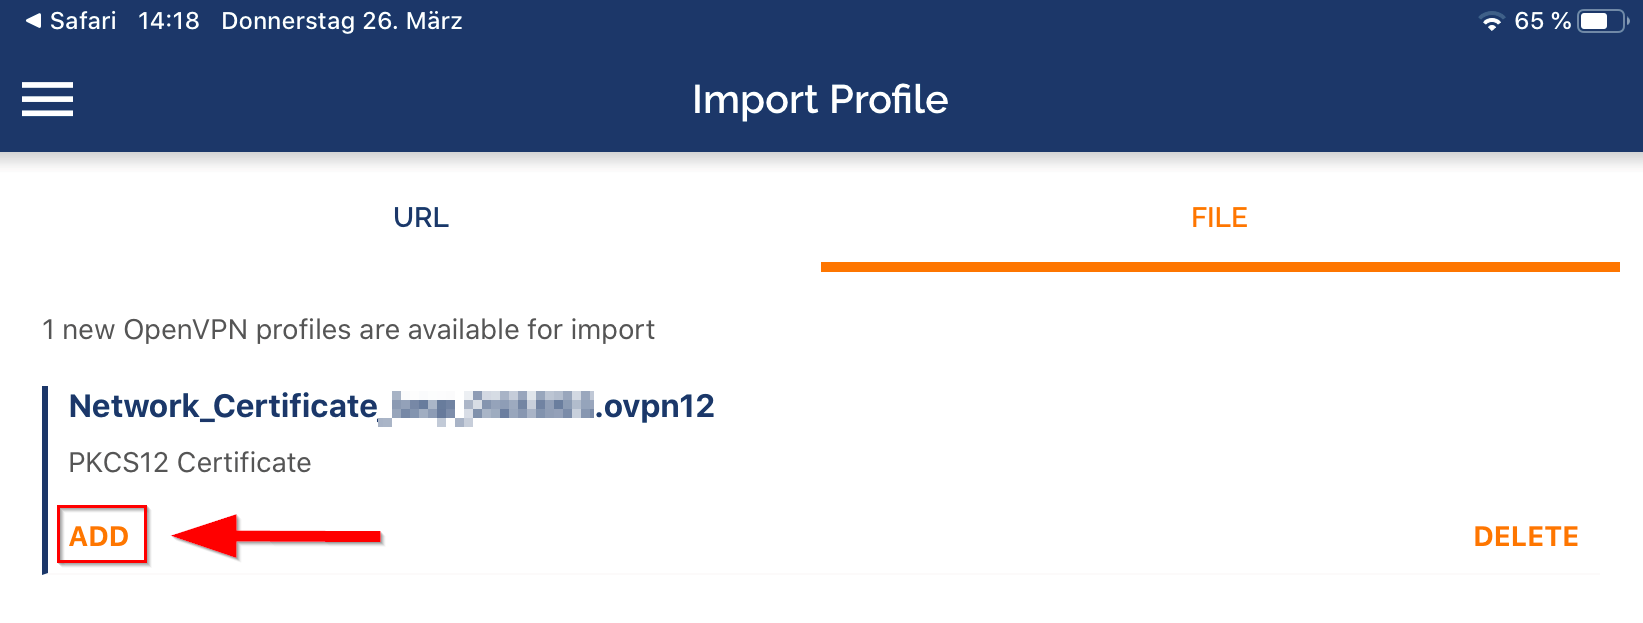
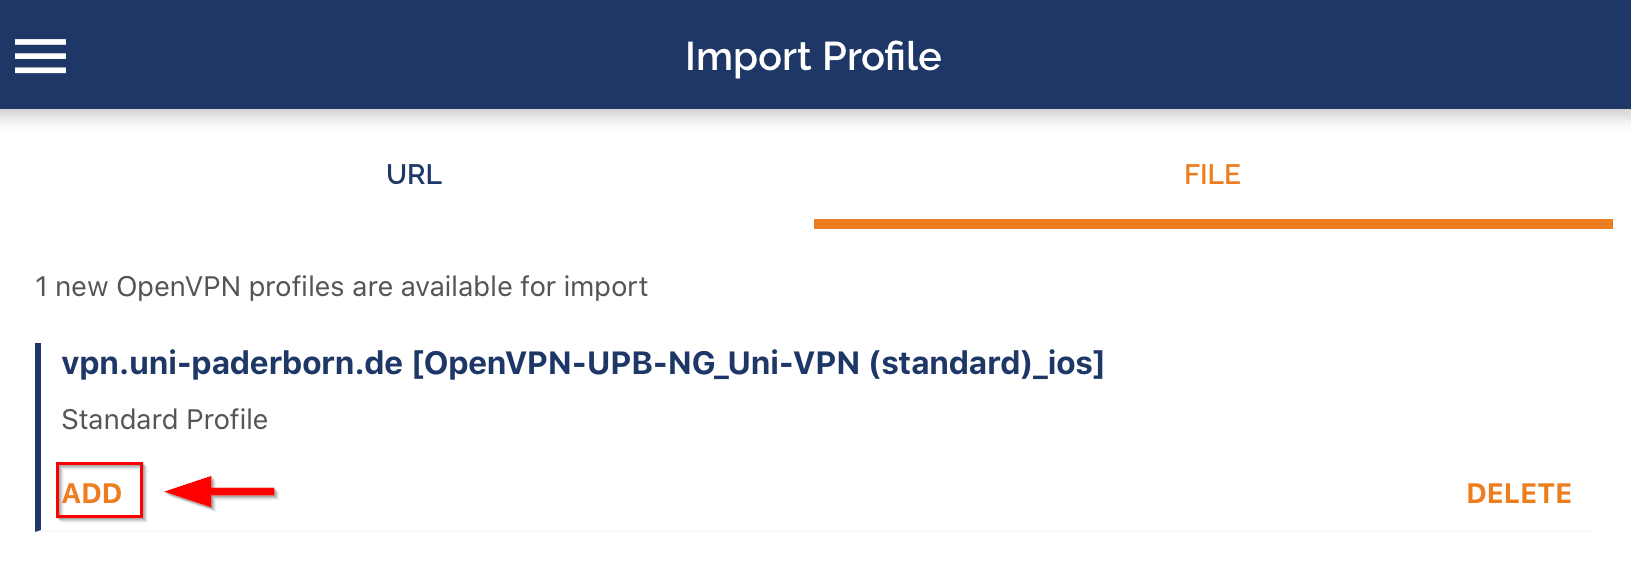
- In the OpenVPN app, click ADD to import the certificate into OpenVPN.

- Enter the password for the certificate. We just copied this to the clipboard. (1)
- Then click OK. (2)
Import configuration file[Bearbeiten | Quelltext bearbeiten]
- Now we need a configuration file. Switch back to the Safari browser.
- Download the configuration file. To do this, select the VPN you want to connect to and click Download.
Note: You can click "Download" here to download your configuration file. This is not a screenshot ;-)
Direct all internet traffic through the tunnel?
- Accessing online resources may require routing all network traffic through the tunnel.
- You do not need this option to simply access network drives.
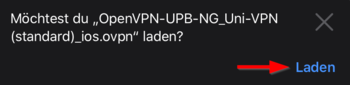
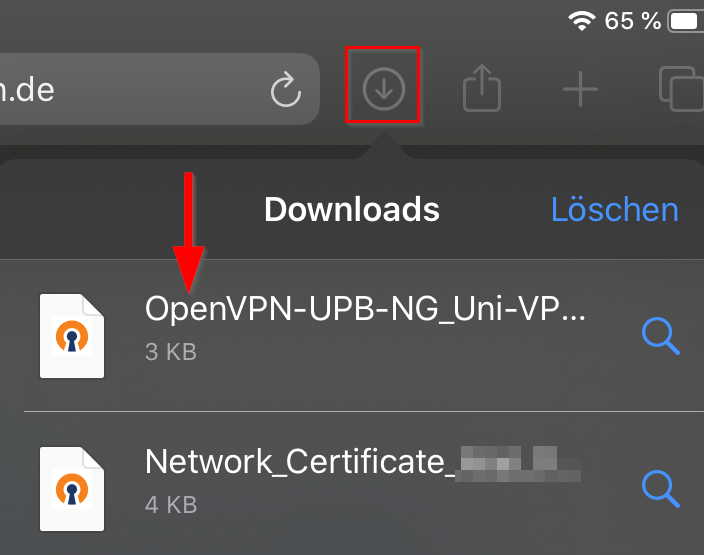
- Click on "Load".

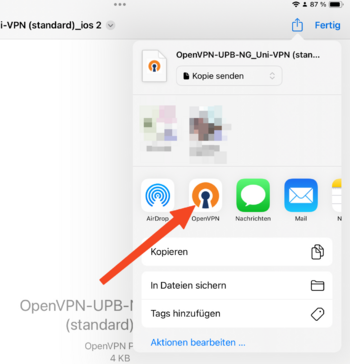
- Open the OpenVPN configuration file. On newer iOS versions, the file usually opens automatically in OpenVPN.
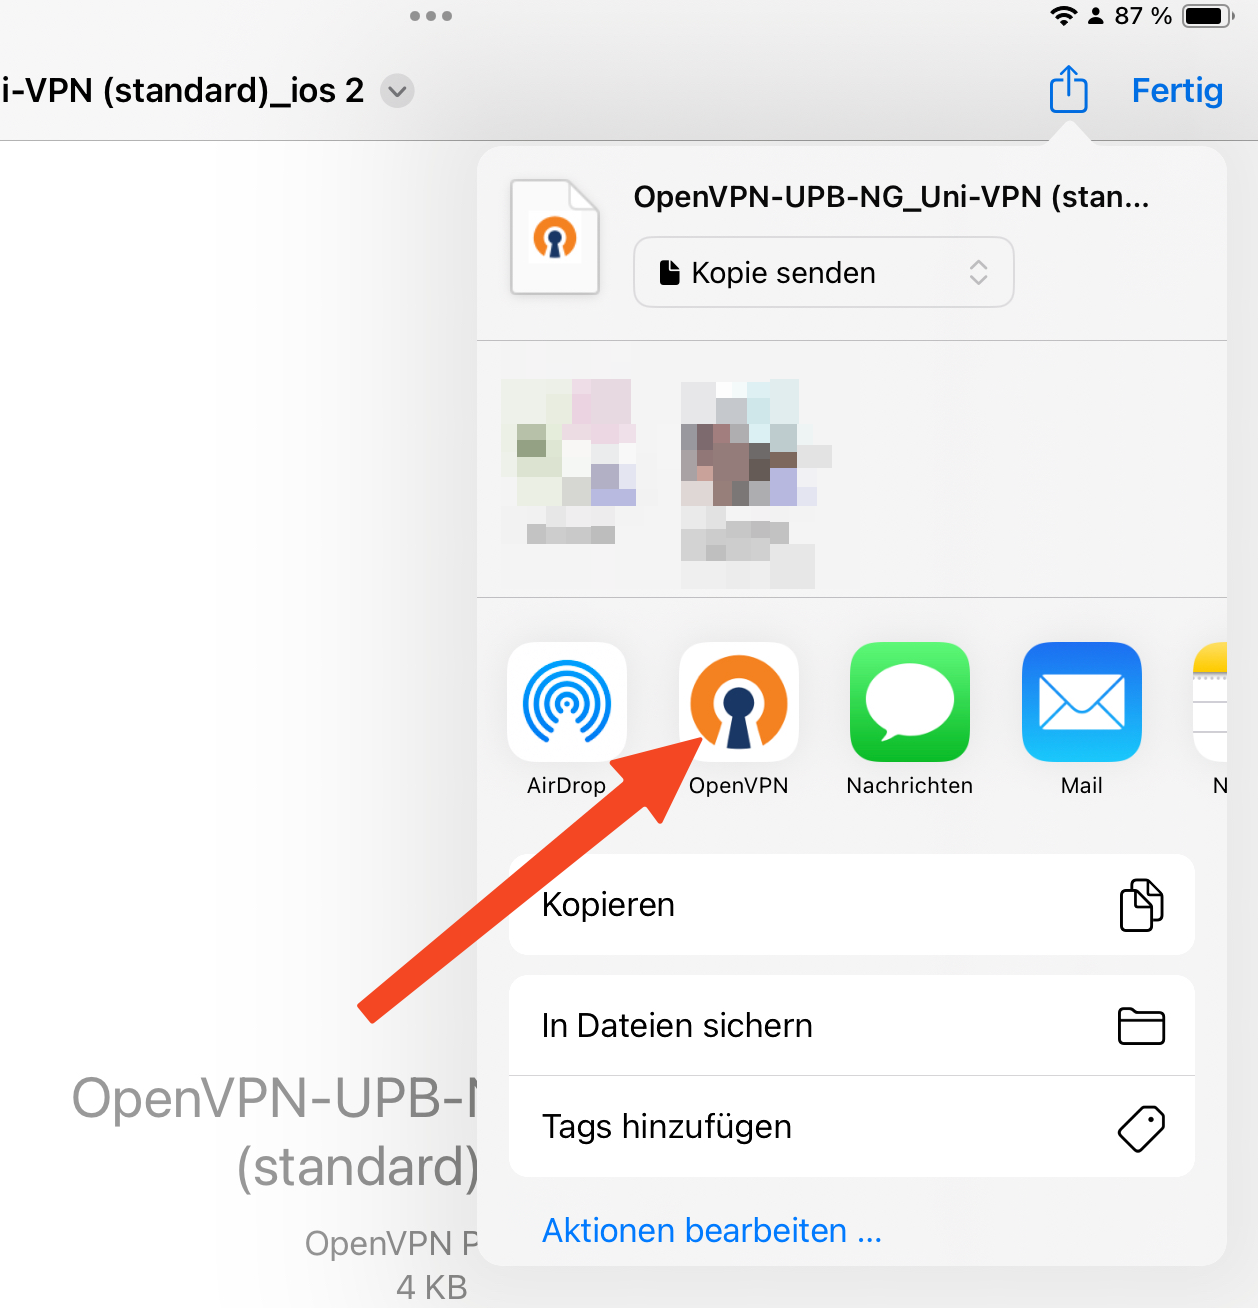
- If not, open the file manually with OpenVPN by selecting it from the list.
- Click on ADD.
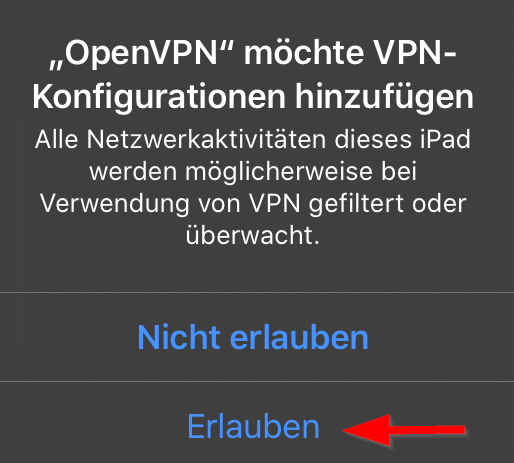
- The iPhone will now ask if you want to allow the VPN app access. Tap Allow.

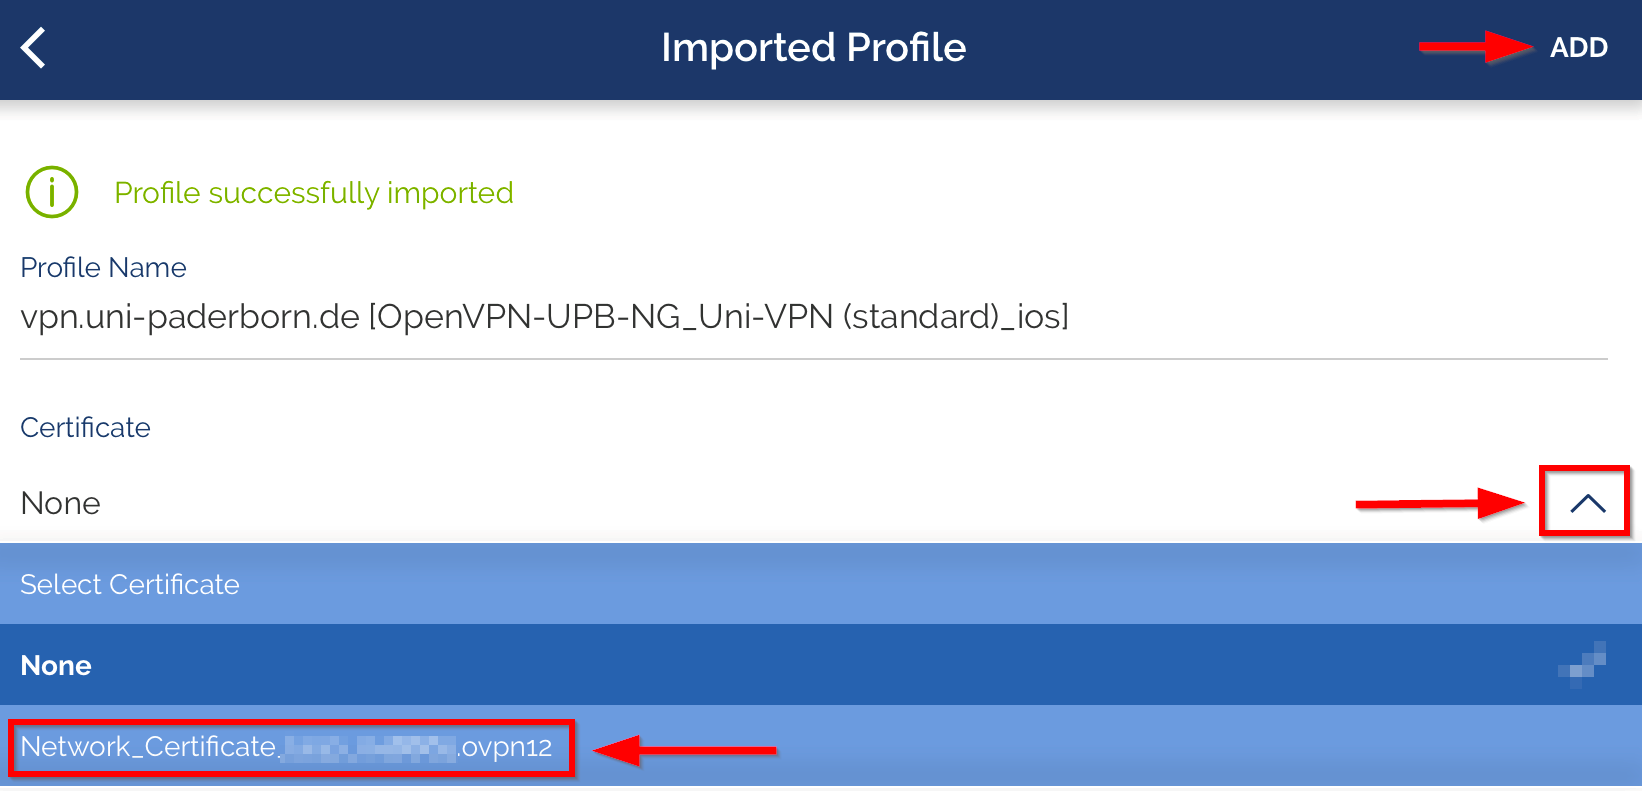
- Now we just need to select the certificate that was already imported.
- Tap Certificate and Key.
- Select Network_Certificate....
- Finally, tap CONNECT.

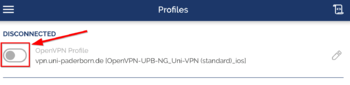
- The VPN should now connect automatically for the first time. You will see this indicated by the green icon.
- Now the VPN should connect automatically for the first time.
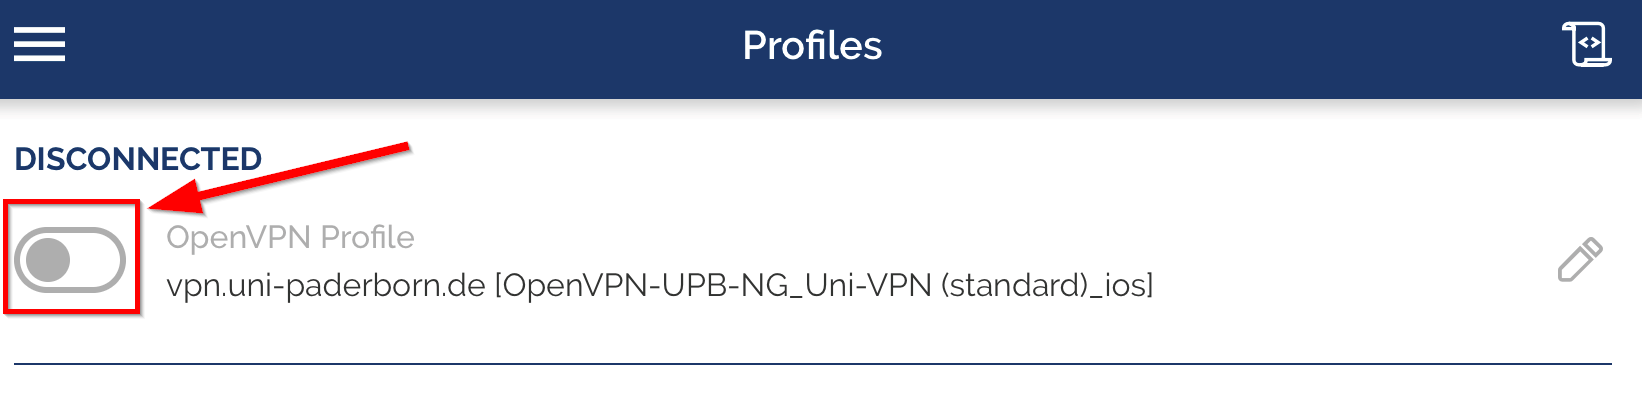
- To disconnect the VPN, tap the green icon. The first time you do this, a message will appear asking if you really want to disconnect. You can select Don't show again if you don't want to be asked this every time.
- The VPN will then have a gray icon and will display Disconnected until you tap it again to reconnect.
- You can also manage the connection and connect and disconnect in your iPhone settings under VPN.
Note: When the VPN is active, all your internet traffic is routed through the servers of Paderborn University. Therefore, only activate the VPN connection when you actually need it.
Check VPN[Bearbeiten | Quelltext bearbeiten]
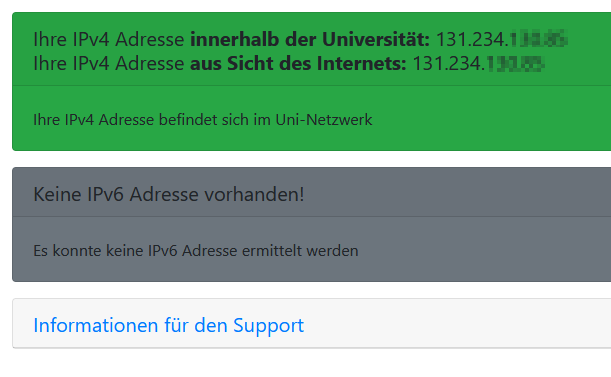
You can check the functionality of the VPN by calling:
Your IP will be displayed there and it will show whether you are on the university network.

Known Issues[Bearbeiten | Quelltext bearbeiten]
No import[Bearbeiten | Quelltext bearbeiten]
- Problem: Configuration file and certificate cannot be imported into the OpenVPN app. Download size 0 kB.
- Cause: iCloud is specified as the download folder.
- Solution: Select the local download folder.
Settings -> Safari -> Downloads -> Local Downloads Folder
Unknown/Unsupported Options[Bearbeiten | Quelltext bearbeiten]
Problem: VPN cannot be activated.
Error message:
EVENT: CORE_THREAD_ERROR option_error: sorry, unsupported options present in configuration: UNKNOWN/UNSUPPORTED OPTIONS [ERR]
Solution: Update your configuration file. Details under 'Import configuration file above.


